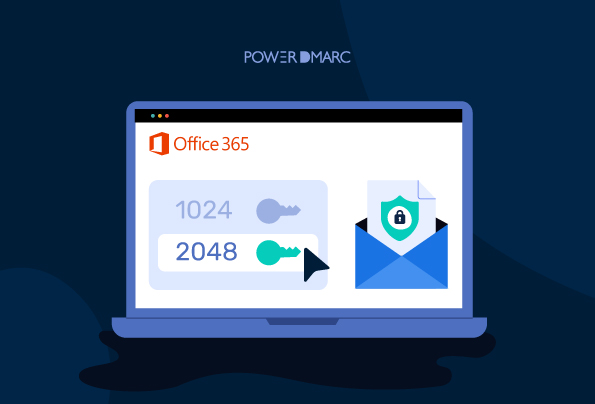
Due to the threats lurking online, businesses must prove that they are legitimate by employing strong authentication methods. A common method is through DomainKeys Identified Mail (DKIM), an email authentication technology that uses encryption keys to verify the domain of the sender. DKIM along with SPF and DMARC has drastically improved the email security posture of organizations globally.
Read more on what is DKIM.
While configuring DKIM for your emails, one of the primary decisions you have to make is determining the DKIM key length. In this article, we will take you through the recommended key length for better protection and how to upgrade your keys in Exchange Online Powershell.
Key Takeaways
- Choosing the right DKIM key length is critical for ensuring strong email authentication.
- Using a 2048 bit DKIM key significantly increases protection against potential cyber attacks.
- Regularly upgrading DKIM keys is essential to adapt to evolving security threats.
- PowerShell commands can be utilized to easily upgrade and configure DKIM settings within Exchange Online.
- Implementing DMARC alongside DKIM further enhances email security and helps to prevent spoofing and business email compromise.
Importance of Upgrading your DKIM Key Length
Choosing the 1024 bit or 2048 bit is an important decision that must be made when choosing your DKIM key. For years, PKI (public key infrastructure) has used 1024 bit DKIM keys for their security. However, as technology is becoming more complex, hackers are working hard to find new methods to cripple security. Because of this, key lengths have become increasingly important.
As hackers continue to invent better ways to break DKIM keys. The length of the key is directly correlated with how hard it is to break the authentication. Using a 2048 bit key provides enhanced protection and improved security against current and future attacks, highlighting the importance of upgrading your bitness.\
Simplify Security with PowerDMARC!
Manually Upgrading your DKIM keys in Exchange Online Powershell
- Start off by connecting to Microsoft Office 365 PowerShell as the admin (Make sure your Powershell account is configured to run signed Powershell scripts)
- In case DKIM is preconfigured, to upgrade your keys to 2048 bits run the following command on Powershell:
Rotate-DkimSigningConfig -KeySize 2048 -Identity {Guid of the existing Signing Config}
- In case you have not implemented DKIM previously, run the following command on Powershell:
New-DkimSigningConfig -DomainName <Domain for which config is to be created> -KeySize 2048 -Enabled $true
- Finally, to verify that you have successfully configured DKIM with an upgraded bitness of 2048 bits, run the following command:
Get-DkimSigningConfig -Identity <Domain for which the configuration was set> | Format-List
Note: Make sure you are connected to Powershell throughout the completion of the procedure. It can take up to 72 hours for the changes to be implemented.
DKIM isn’t enough to protect your domain against spoofing and BEC. Upgrade your domain’s email security by configuring DMARC for office 365.
- Migrating Your DMARC Provider: An Actionable, Value-Added Guide - September 19, 2025
- “DMARC Best Guess Pass” Explained: What It Means and How to Fix It - September 17, 2025
- GoDaddy’s Default DMARC Policy Shift – What It Means for Your Domain Security - September 11, 2025
