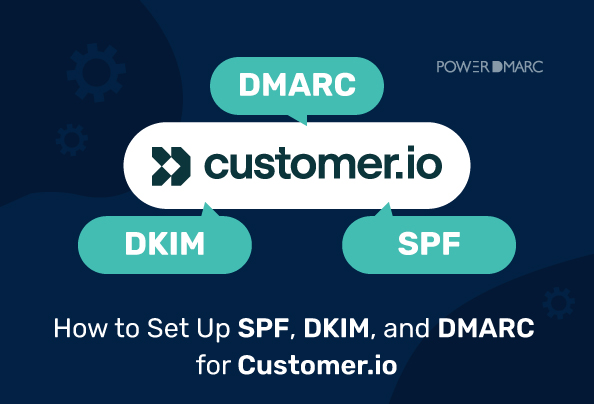
How to Set Up SPF, DKIM, and DMARC for Customer.io
por
Tempo de leitura: 5 min
por
Customer.io is a customer engagement platform that helps businesses build personalized journeys across channels like SMS, email, in-app messaging, and push notifications. To ensure smooth email delivery, domain authentication is recommended, and it’s easy with the right tools. Here’s how to quickly set up SPF, DKIM, and DMARC for Customer.io.
You can refer to Customer.io’s authentication document for more information.
Takeaways de chaves
To add a new sending domain in Customer.io, follow these steps:
1. Log in to the Customer.io portal and go to Settings > Workspace settings

2. On your Workplace settings page, click on “Email” under Journey Settings > Messaging.

3. Click “Add Sending Domain”.

4. Be sure to input the Domain, Display Name, and Email Address that you will use to send messages. Then click “Add Domain.”

When you are done adding a sending domain and including the From address, you should click Verify domain. This will help you locate the DNS records that Customer.io suggests you configure.

According to their authentication document, you are required to add four DNS records to your DNS hosting provider for each domain from which you will be sending emails.
You need to set up a single MX (Mail Exchange) record that includes two hostnames to enable email delivery from your domain. This setup is essential for receiving bounce notifications and spam feedback.

SPF is an email authentication protocol that helps authorize your senders.
The SPF record for Customer.io is a single TXT record that authorizes Customer.io to send emails on your domain’s behalf. SPF (Sender Policy Framework) records help specify which IP addresses are permitted to send emails on behalf of your domain.

DKIM is an email authentication protocol that enables sending servers to append a digital signature to outgoing emails, preventing the chances of message alterations in transit.
By adding the DKIM TXT record to your domain, you allow Customer.io to attach an encrypted DKIM signature to your outgoing emails. This signature helps email providers confirm that the message was sent by you and hasn’t been tampered with along the way.


Notes:
Once you gain access to your DNS records, you need to publish them in your DNS management console. Note that this is a crucial step to set up domain authentication and complete the configuration process for Customer.io.
The steps for publishing your DNS records depend on your hosting provider. Here, I’ve taken the example of GoDaddy.

Add the DNS records provided by Customer.io in their domain authentication setup. Note that each record needs to be added separately for the same domain.
If you have existing DMARC and SPF records for your domain, do not delete them. Instead, merge SPF records, and let your DMARC record stay the same.
| DNS record | Tipo | Anfitrião | TTL | Valor |
|---|---|---|---|---|
| MX | MX | Copy-paste the Hostname from the Customer.io portal. | Automóvel | Copy-paste the MX record value from the Customer.io portal and save changes. |
| SPF | TXT | Copy-paste the Hostname from the Customer.io portal. | Automóvel | - If there is no existing record: Copy-paste the SPF record value from the Customer.io portal and save changes. - If there is an existing SPF record: merge your SPF records to include Customer.io’s sending domain. |
| DKIM | TXT | Copy-paste the Hostname from the Customer.io portal. | Automóvel | Copy-paste the DKIM record value from the Customer.io portal and save changes. |
| DMARC | TXT | Copy-paste the DKIM record value from the Customer.io portal. | Automóvel | - If there is no existing record: Copy-paste the DMARC record value from the Customer.io portal and save changes. - If there is an existing DMARC record: Don’t make any changes. |
Ensure you’ve added the required DNS records and allowed time for them to propagate. Then, return to your domain’s Authentication tab and click “Verify domain”.

If all three records display green checkmarks, your domain is successfully verified. It means the domain is ready to send emails.
Domain authentication isn’t just about compliance, it’s about visibility and control. Once your SPF, DKIM, and DMARC records are set up, it’s crucial to monitor them to ensure everything is working as expected. PowerDMARC helps do just that!
Step 1: Sign up for a free trial with PowerDMARC to get started.

Step 2: Add Your Domain

Step 3: Add PowerDMARC’s rua and ruf addresses to your existing DMARC record to enable reporting.
Step 4: Gain visibility in 72 hours
Step 5: Use our PowerAnalyzer tool to monitor your records

With PowerDMARC, you enjoy safer email communications, enhanced email deliverability, and benefit from a positive brand reputation. Contact us today to speak to an expert!


 Morphing Meerkat Phishing Kit: A Deep Dive into Its Threats & Tactics