Attendance on Demand Email Authentication Guide: SPF, DKIM, and DMARC

by
Last Updated:
5 min read


by
Last Updated:
Key Takeaways
When your organization relies on Attendance on Demand to distribute automated messages (such as time tracking alerts, exception notifications, or schedules) using your corporate domain (e.g., [email protected]), those emails originate from the vendor’s infrastructure, not your internal mail servers.
Without cryptographic DNS authorization, receiving inbox providers will likely flag this behavior as domain spoofing. Implementing SPF, DKIM, and DMARC bridges this trust gap, significantly lowering bounce rates and protecting your brand identity.
(Note: If your automated messages are sent using the default vendor address, such as [email protected], the vendor inherently manages the authentication. The steps below only apply if you wish to use a custom “From” address aligned with your own domain).
Public developer documentation for Attendance on Demand focuses entirely on web services and APIs, not email authentication. Because the platform provisions unique identifiers for each customer, you cannot use generic setup instructions or copy records from another tenant.
1. Open a Support Request: Reach out to your Attendance on Demand channel partner or support contact. Request that “custom-domain sending” be activated for your tenant.
2. Request the Explicit DNS Values: Ask for all necessary authentication parameters:
3. Hold Off on DNS Changes: Wait until you receive these exact values. Guessing authentication mechanisms or publishing unauthorized records adds security risks and will cause DMARC failures.
SPF validates the infrastructure permitted to send mail on your behalf. To pass DMARC via SPF, the domain in the hidden “Return-Path” header must align with your visible “From” address.
Warning: Attendance on Demand publishes a list of IP addresses online for firewall configurations (HTTP/HTTPS/SMTP). Do not use these IP ranges to build your own SPF record. Outbound mail may utilize entirely different routing. Only use the specific SPF mechanism provided by your support partner.
If your partner provisions a dedicated subdomain to handle the Return-Path (e.g., notify.yourdomain.com), publish the CNAME or TXT record exactly as instructed. This isolates the authentication routing without interfering with your standard corporate email.
(Structural example only; replace placeholders with your issued values):
If your partner issues a specific include: mechanism for your root domain, you must fold it into your existing SPF record. Never create multiple SPF records.
v=spf1 include:spf.protection.outlook.com ~all
v=spf1 include:spf.protection.outlook.com include: ~all
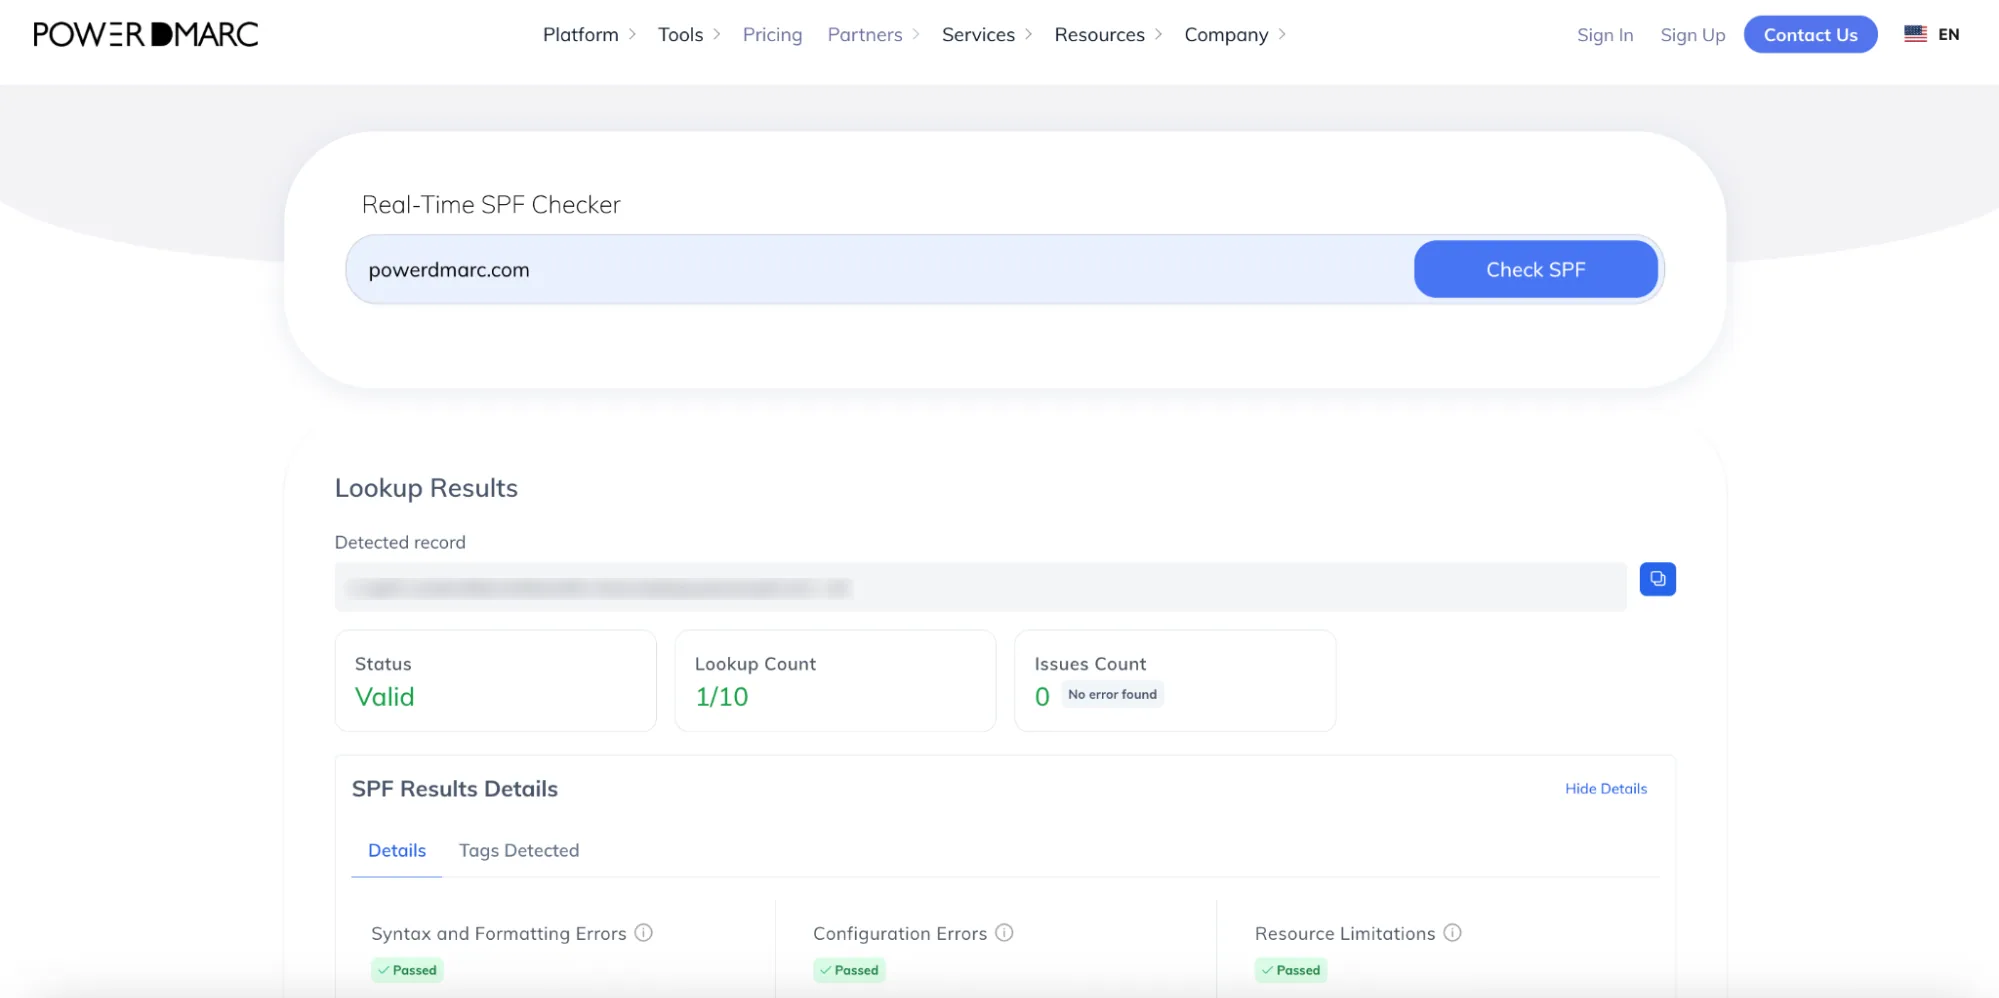
Pro Tip: Keep an eye on your SPF 10-lookup limit. If adding this vendor pushes you over the limit, consider utilizing PowerDMARC’s Hosted SPF to automatically flatten your records. You can also check your current setup with PowerDMARC’s SPF checker.
DKIM is often the most critical authentication layer for Attendance on Demand, especially if custom Return-Path routing is unavailable for certain types of automated alerts. It applies a cryptographic signature that verifies the email content has not been tampered with.
Log in to your DNS management console and create the record exactly as provided by your partner.
(Structural example only; replace placeholders with your issued values):
Crucial Next Step: Publishing the DNS record does not immediately start the signing process. You must contact your Attendance on Demand partner to activate DKIM signing on their end. Furthermore, you must trigger a brand new message to test it; previously sent emails cannot retroactively acquire the new signature. Then you can see if your keys are already active by using PowerDMARC’s DKIM checker.

DMARC dictates how receiving servers should handle messages that fail authentication. For DMARC to pass, a message must have at least one aligned pass, meaning either SPF or DKIM must pass authentication using a domain that matches your visible “From” address.
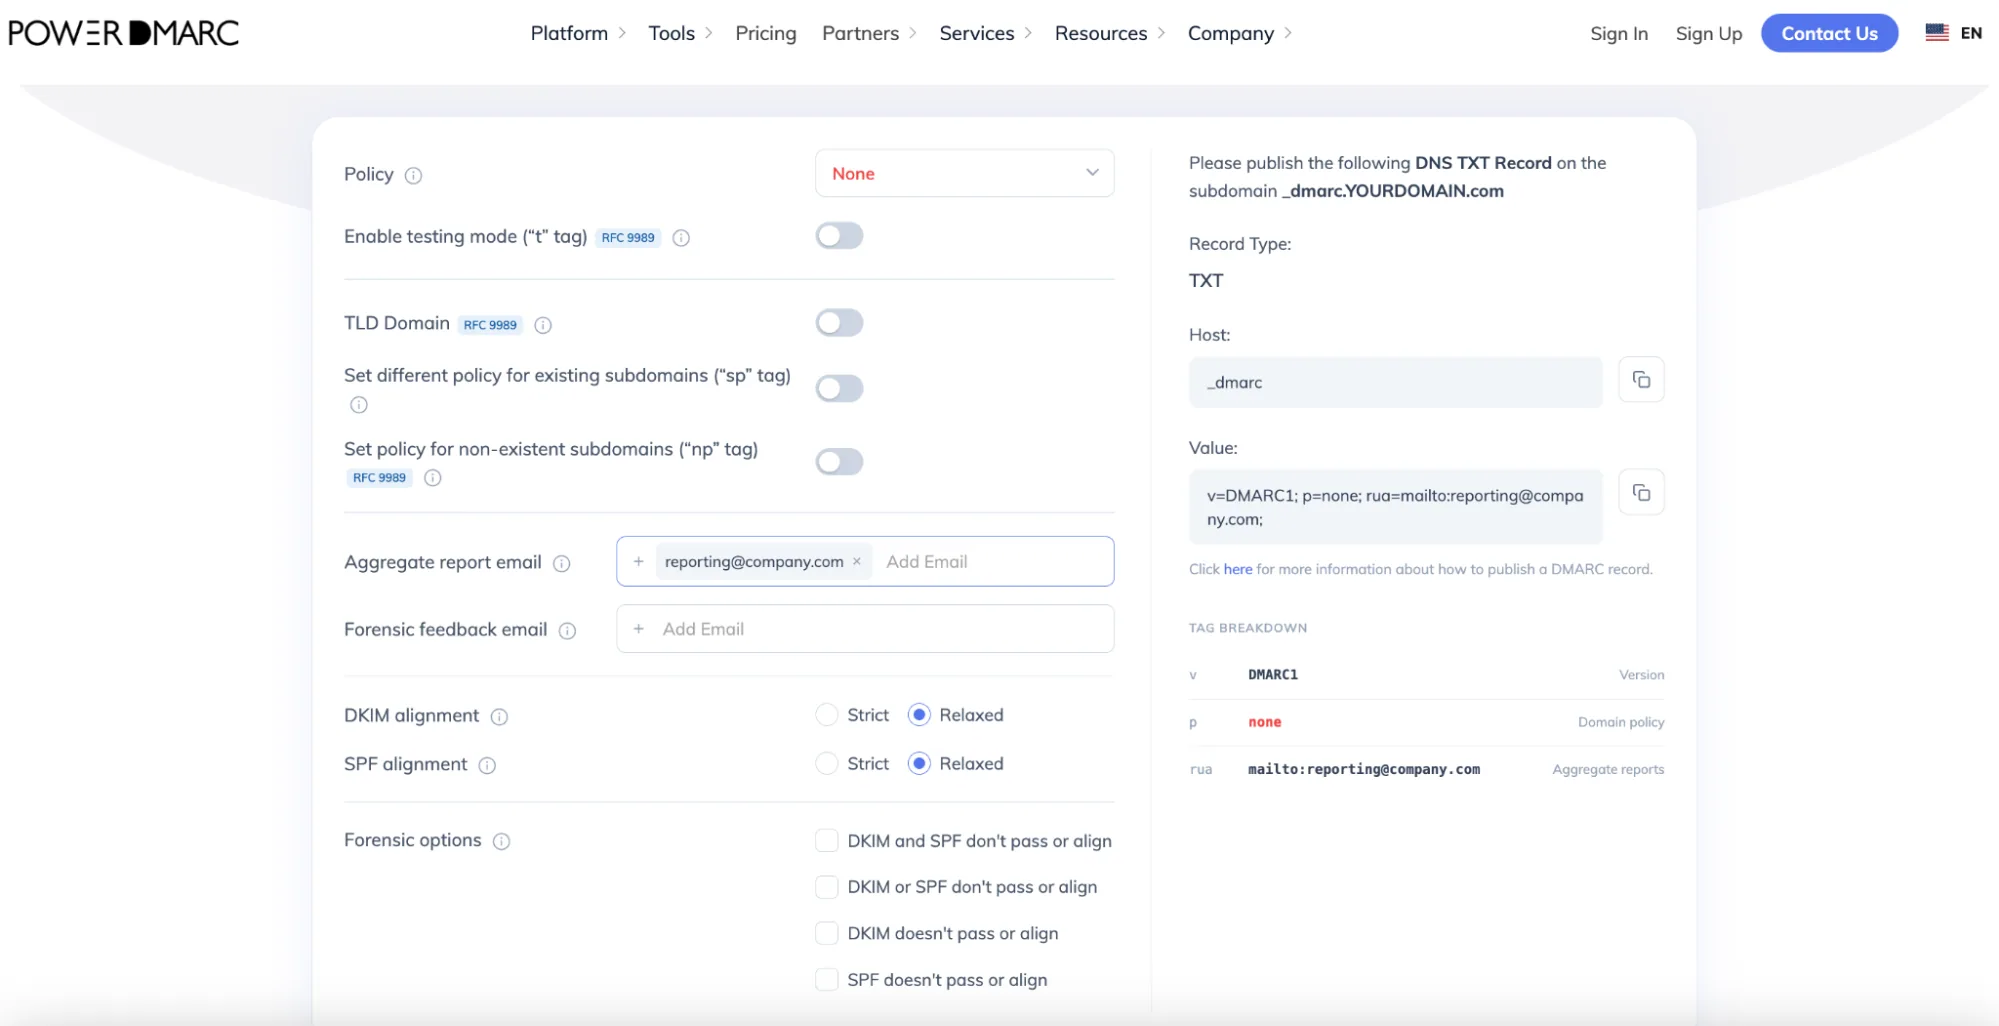
Use PowerDMARC’s free DMARC Record Generator to safely build your policy.
1. Access your DNS settings and create a new record.
2. Start in monitor-only mode to gain visibility without blocking legitimate mail:
3. Save your new TXT record.
To confirm your configuration is actively protecting your traffic, you must generate a live test.
Depending on your permissions, you may need your channel partner to execute this. If you have administrative access, navigate to Global Setup > Processes, create or select an Email Reports process, and execute an operator report (e.g., setting up a schedule to “Run Now” delivering to an inbox you control).
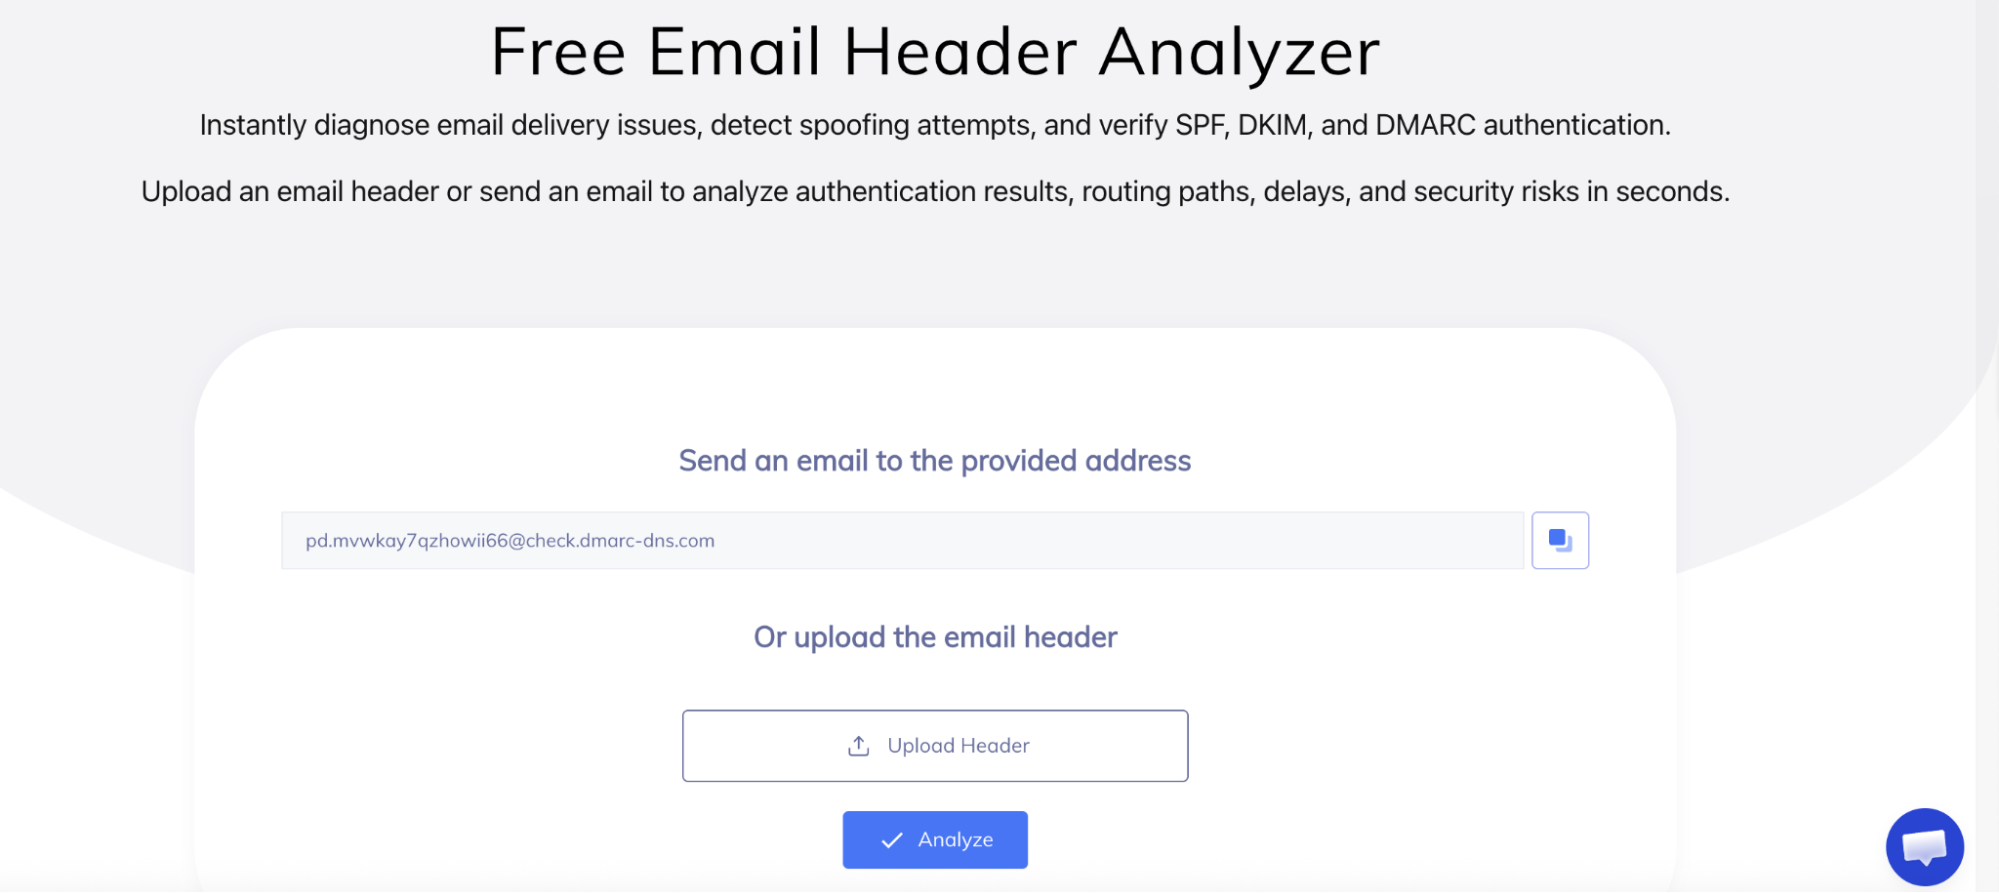
Once you receive the test message, view the raw email headers manually or using our free Email Header Analyzer tool for instant human-readable insights.
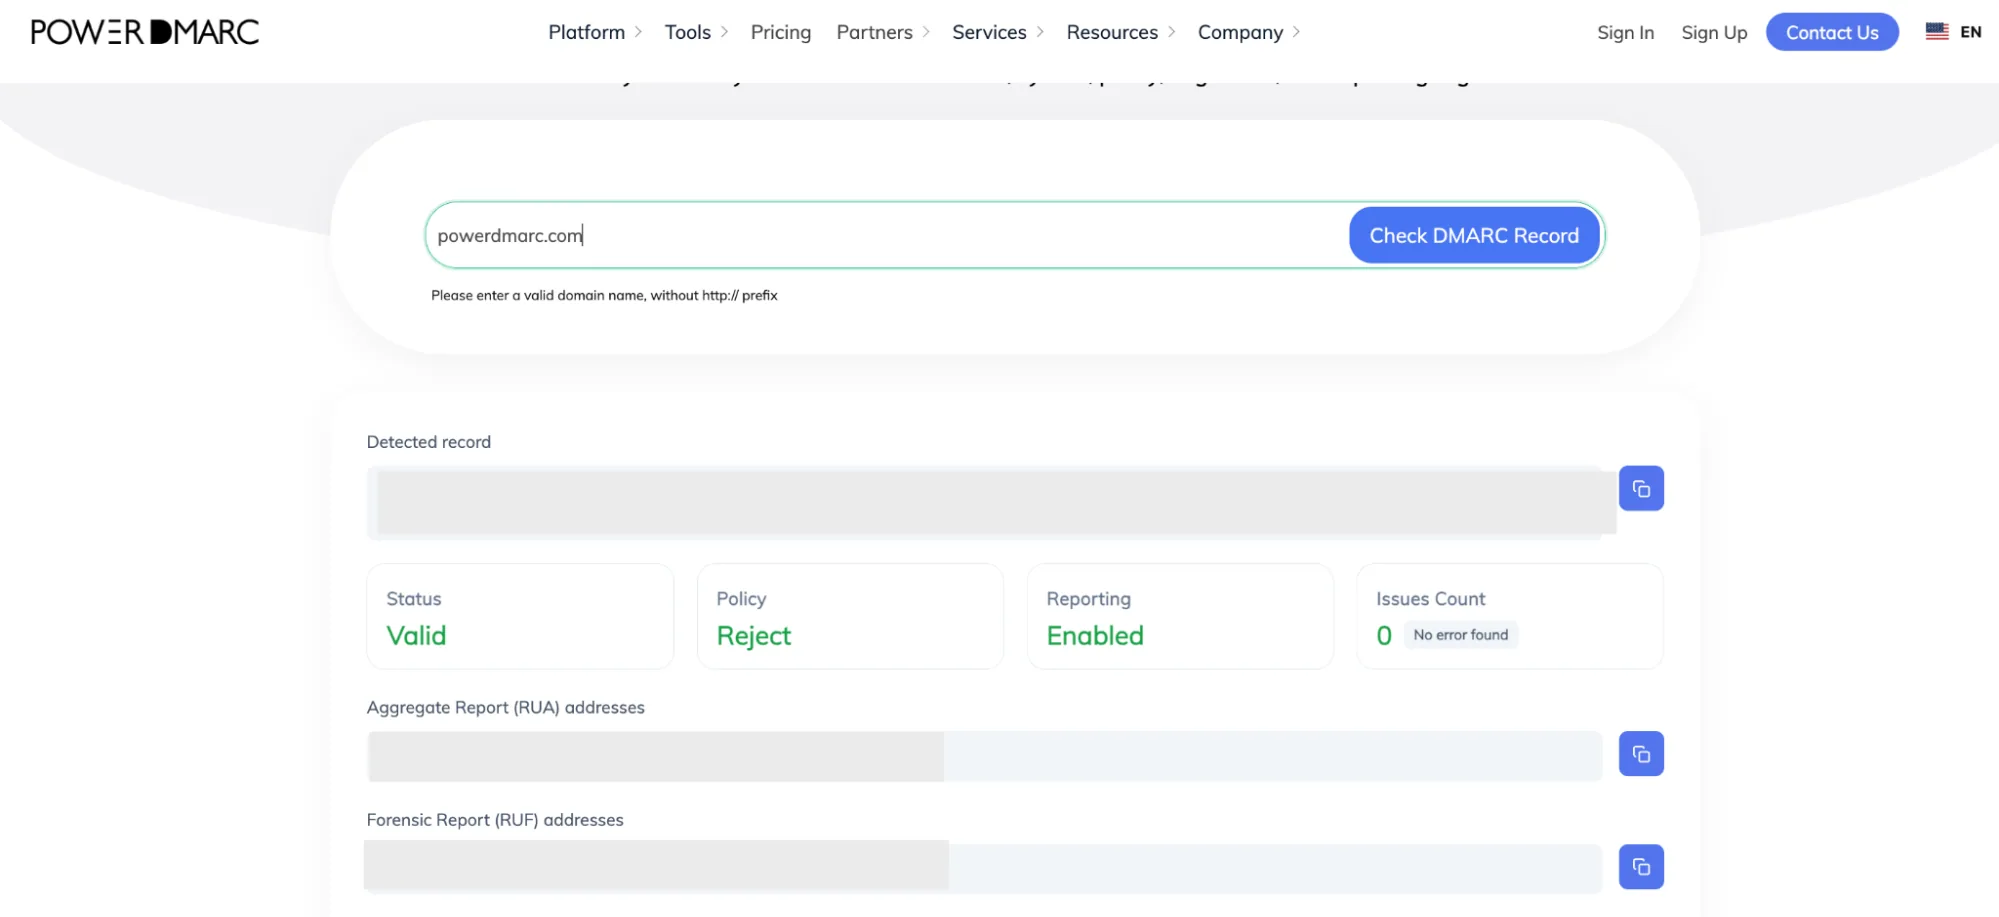
If the test fails: When escalating an issue to your partner, do not simply state that “DMARC failed.” Provide them with the full raw email headers, the UTC send time, the recipient address, and the exact failing Authentication-Results line so they can pinpoint the routing issue.
Do not rush to a p=reject policy. We highly recommend remaining at p=none for at least two full business cycles. This waiting period ensures that infrequent, automated messages, such as end-of-month payroll summaries or quarterly system alerts, have time to trigger, allowing you to verify their authentication status in your aggregate reports before you enforce strict blocking rules.
Ready to maximize your email security? The PowerDMARC team can help you confidently monitor your Attendance on Demand traffic via detailed XML aggregate reports, transition safely through the stages of DMARC enforcement, and simplify your domain security.
Reach out to our team or book a PowerDMARC demo today to secure your business communications!








 Stripe DKIM, DMARC, and SPF Setup Guide