Marketo Email Authentication Guide: SPF, DKIM, and DMARC

by
Last Updated:
5 min read

by
Last Updated:
Key Takeaways
When your company utilizes Adobe Marketo Engage for outbound marketing campaigns, your emails are addressed from your corporate domain (e.g., yourdomain.com) but are physically dispatched from Marketo’s mail servers.
Without proper DNS authorization, inbox providers will flag this discrepancy as a spoofing risk. By implementing SPF, DKIM, and DMARC, you bridge this trust gap, drastically lowering bounce rates and placing your marketing content directly in front of your subscribers.
Leaving your outbound marketing unauthenticated carries significant operational risks. Configuring these protocols yields immediate benefits:
SPF tells receiving servers which IP addresses and subdomains are permitted to send mail for your domain.
If your domain does not yet have an SPF record, ask your IT or network administrator to add a new TXT record in your DNS console.
v=spf1 mx ip4:[corpIP] include:mktomail.com ~all
If your domain already has an SPF record (such as one for Microsoft 365 or Google Workspace), do not create a new one. Creating multiple SPF records will cause validation failures.
Instead, edit your existing TXT record and insert include:mktomail.com right before the final mechanism (such as ~all or -all).
v=spf1 include:spf.protection.outlook.com ~all
v=spf1 include:spf.protection.outlook.com include:mktomail.com ~all
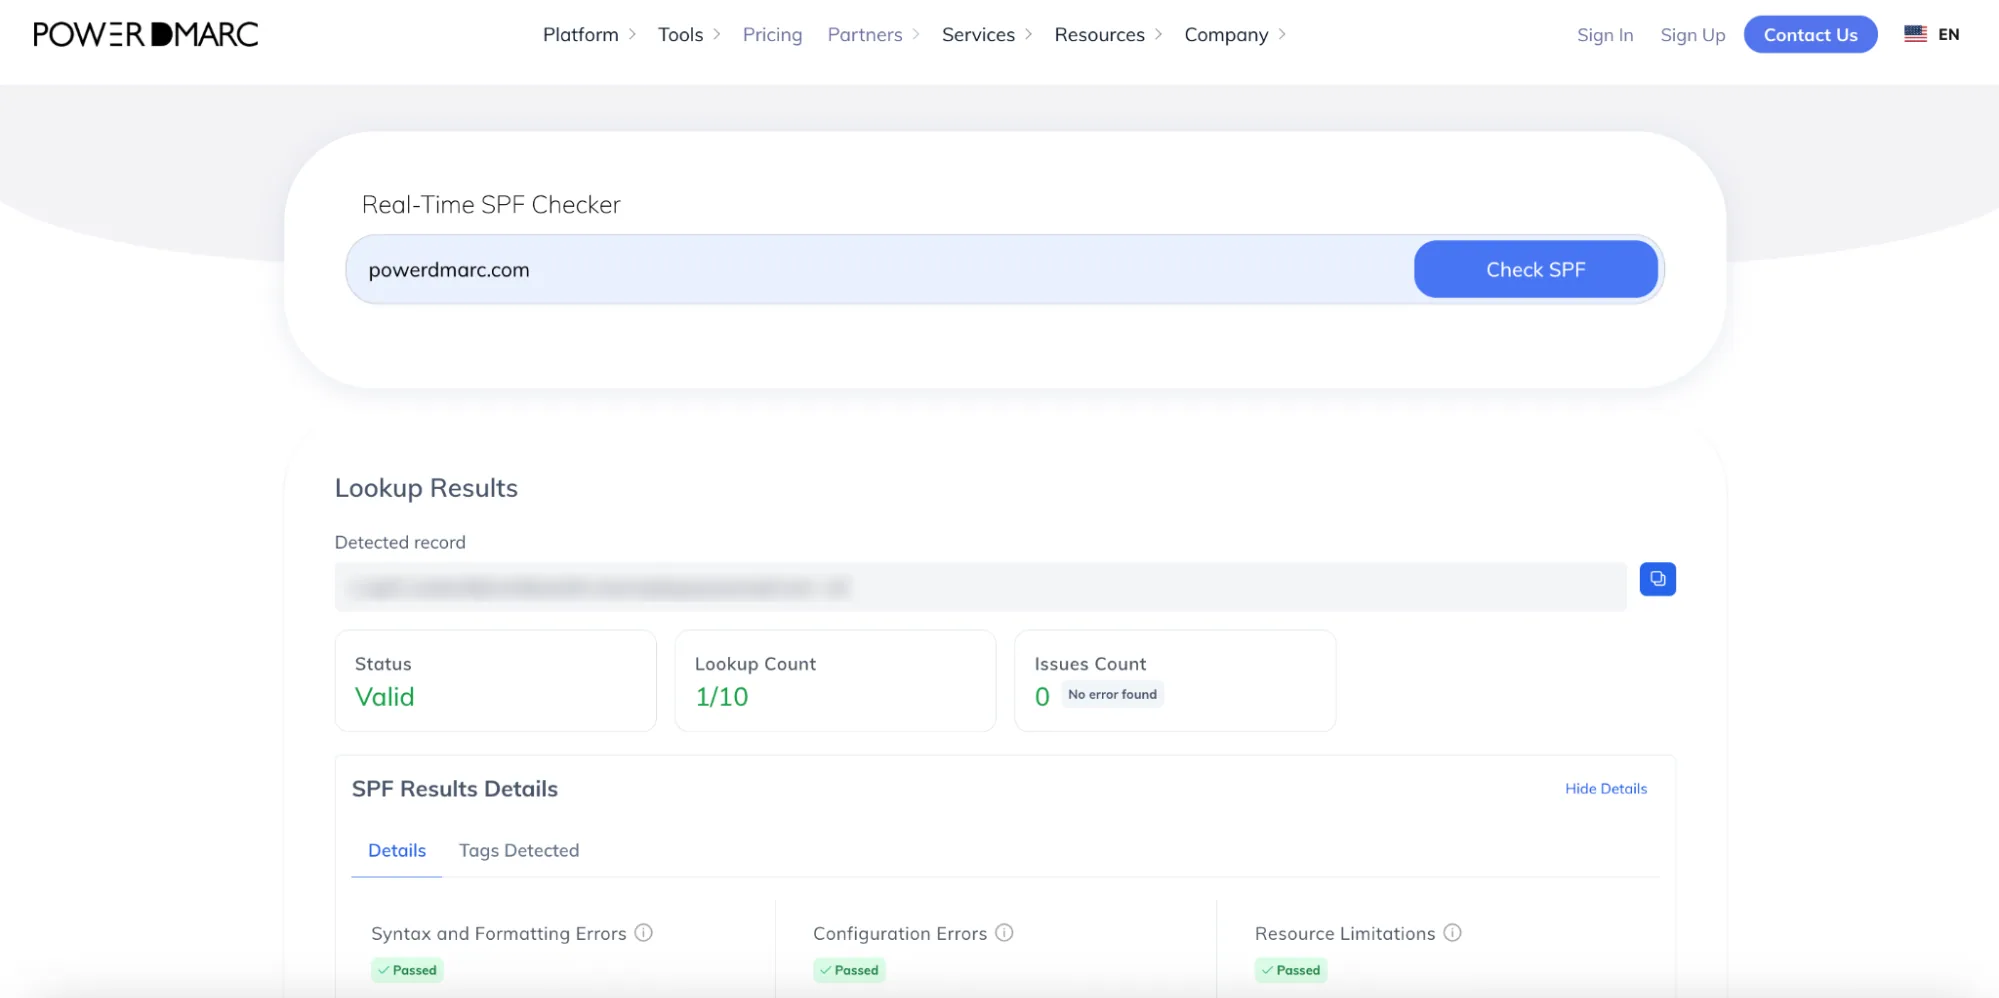
If your domain uses many third-party marketing tools and you are approaching the 10 DNS lookup limit, consider utilizing a Hosted SPF service. You can also review your existing setup using PowerDMARC’s SPF checker.
While Marketo automatically signs outbound mail with a shared DKIM signature, personalizing your DKIM signatures to match your “From” domain is the industry gold standard.
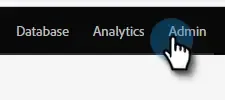
1. Log in to your Marketo instance as an Administrator and navigate to the Admin section.
Source: Marketo Guide
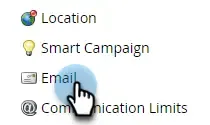
2. Under the left-hand navigation menu, click Email.
Source: Marketo Guide
3. Select the SPF/DKIM tab at the top, then click Add Domain.

Source: Marketo Guide
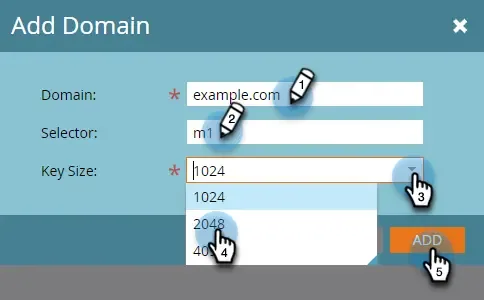
4. Enter the domain you intend to use in the “From Address” of your marketing campaigns.
Source: Marketo Guide
5. Select your preferred Selector (e.g., m1 or any custom string) and Key Size.
Tip: Selecting a Key Size of 2048 is highly recommended for modern, robust security encryption.
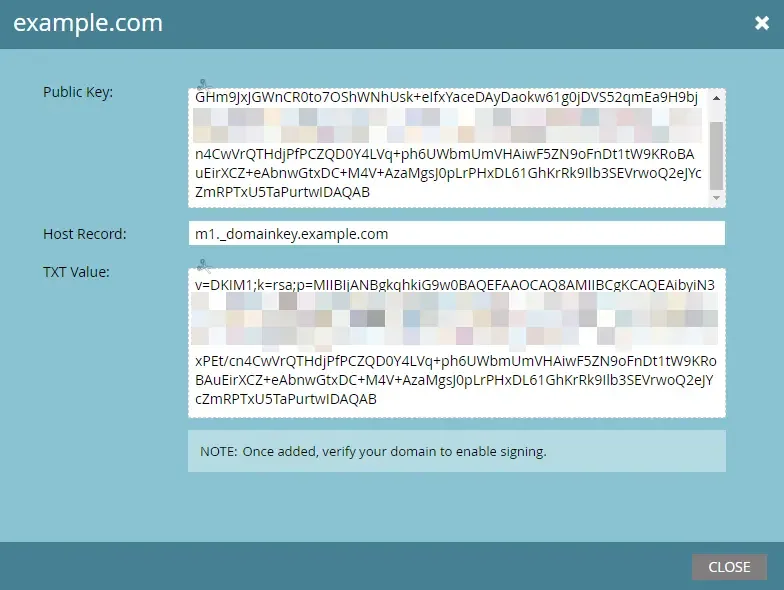
6. Click Add. Marketo will generate a unique Host Record name and a corresponding TXT Value (the public key).
Provide the newly generated values to your IT team or log into your domain register’s DNS manager (Cloudflare, GoDaddy, Route 53, etc.) and create the following entry:
Source: Marketo Guide
Important: If you ever need to change your selector or upgrade your key size, you must delete your old entry in Marketo and publish the new key. Because DNS propagation takes 24 to 48 hours, plan this change during low-volume periods.
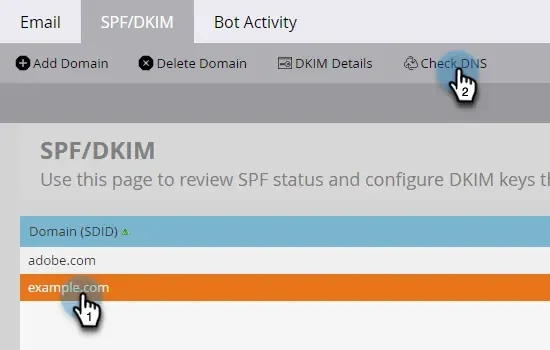
Once your IT team confirms publication, return to the Admin > Email > SPF/DKIM tab in Marketo, select your domain, and click Check DNS.
Source: Marketo Guide
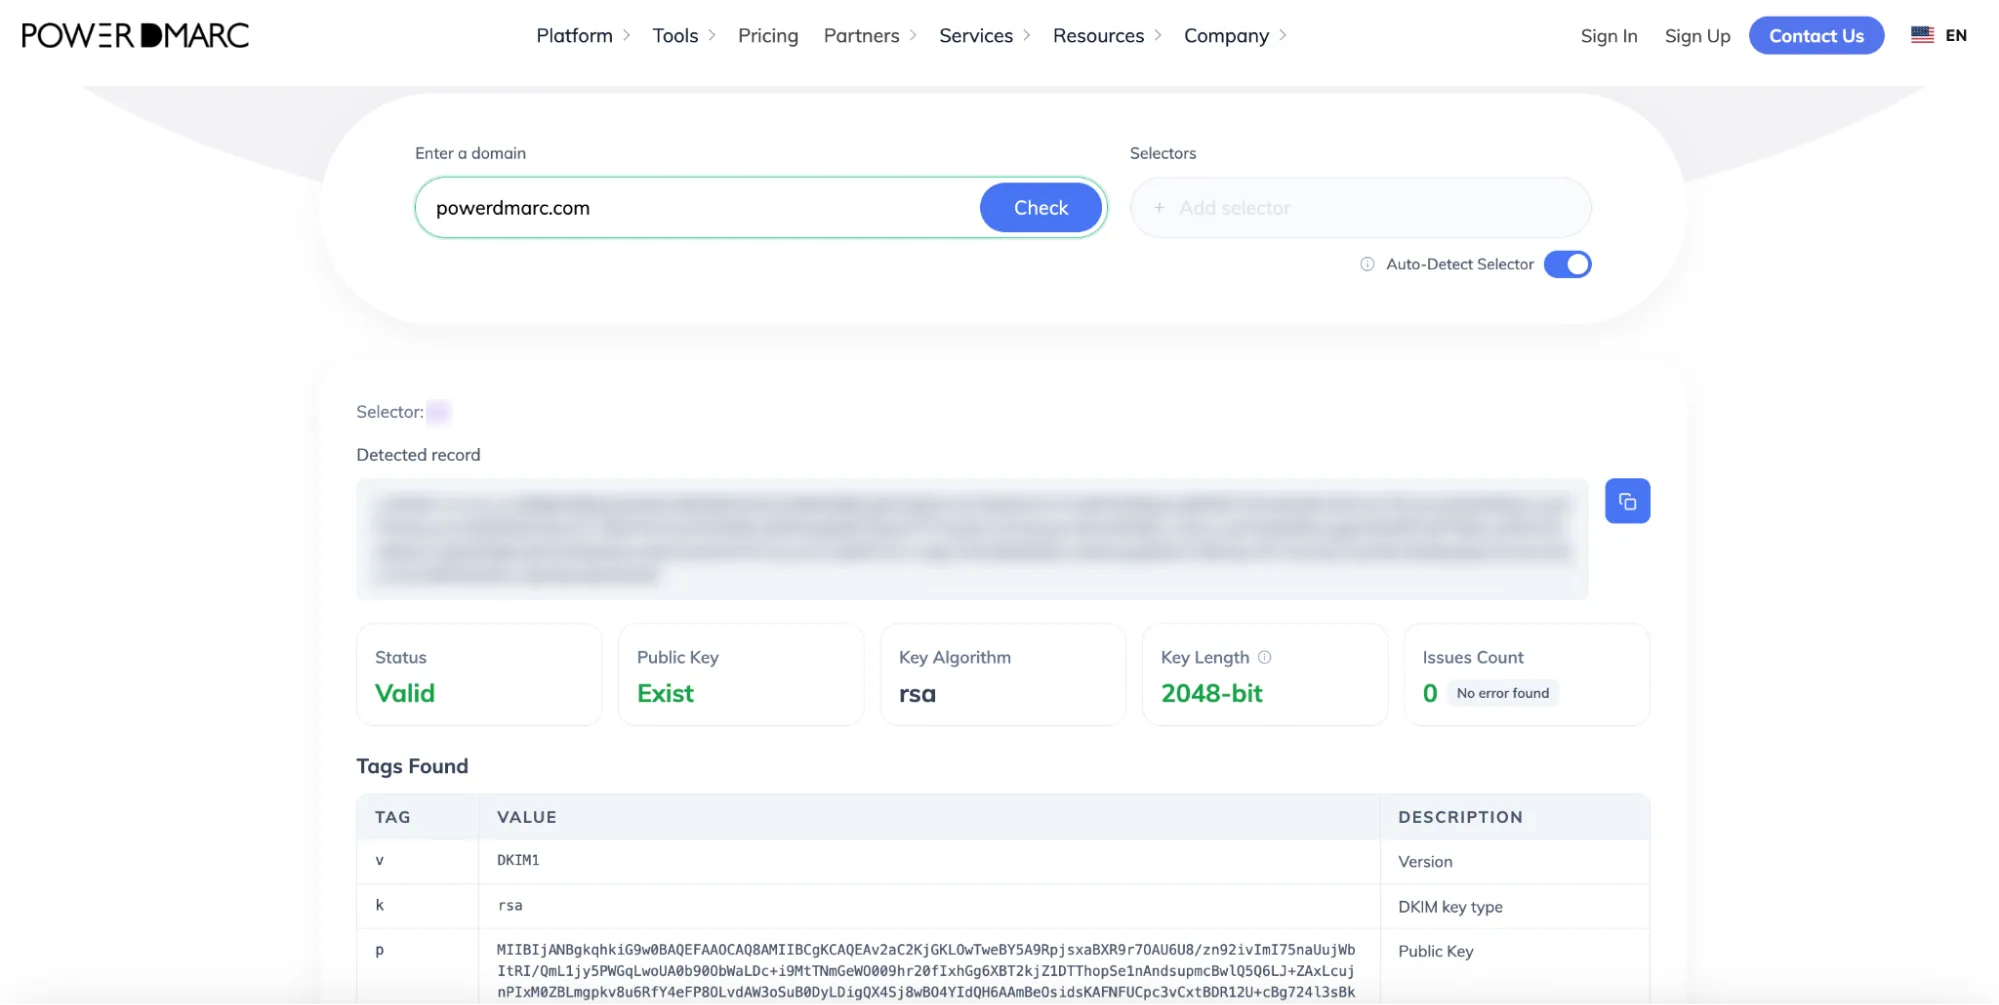
To independently verify your public key is accessible to external mail servers, run a quick test using PowerDMARC’s DKIM checker.
With SPF and custom DKIM in place, you are ready to configure DMARC. This protocol relies on the alignment of either SPF or DKIM to verify an email’s authenticity. Rather than guessing the correct syntax, you can easily build a fully compliant record with PowerDMARC’s free DMARC Record Generator.
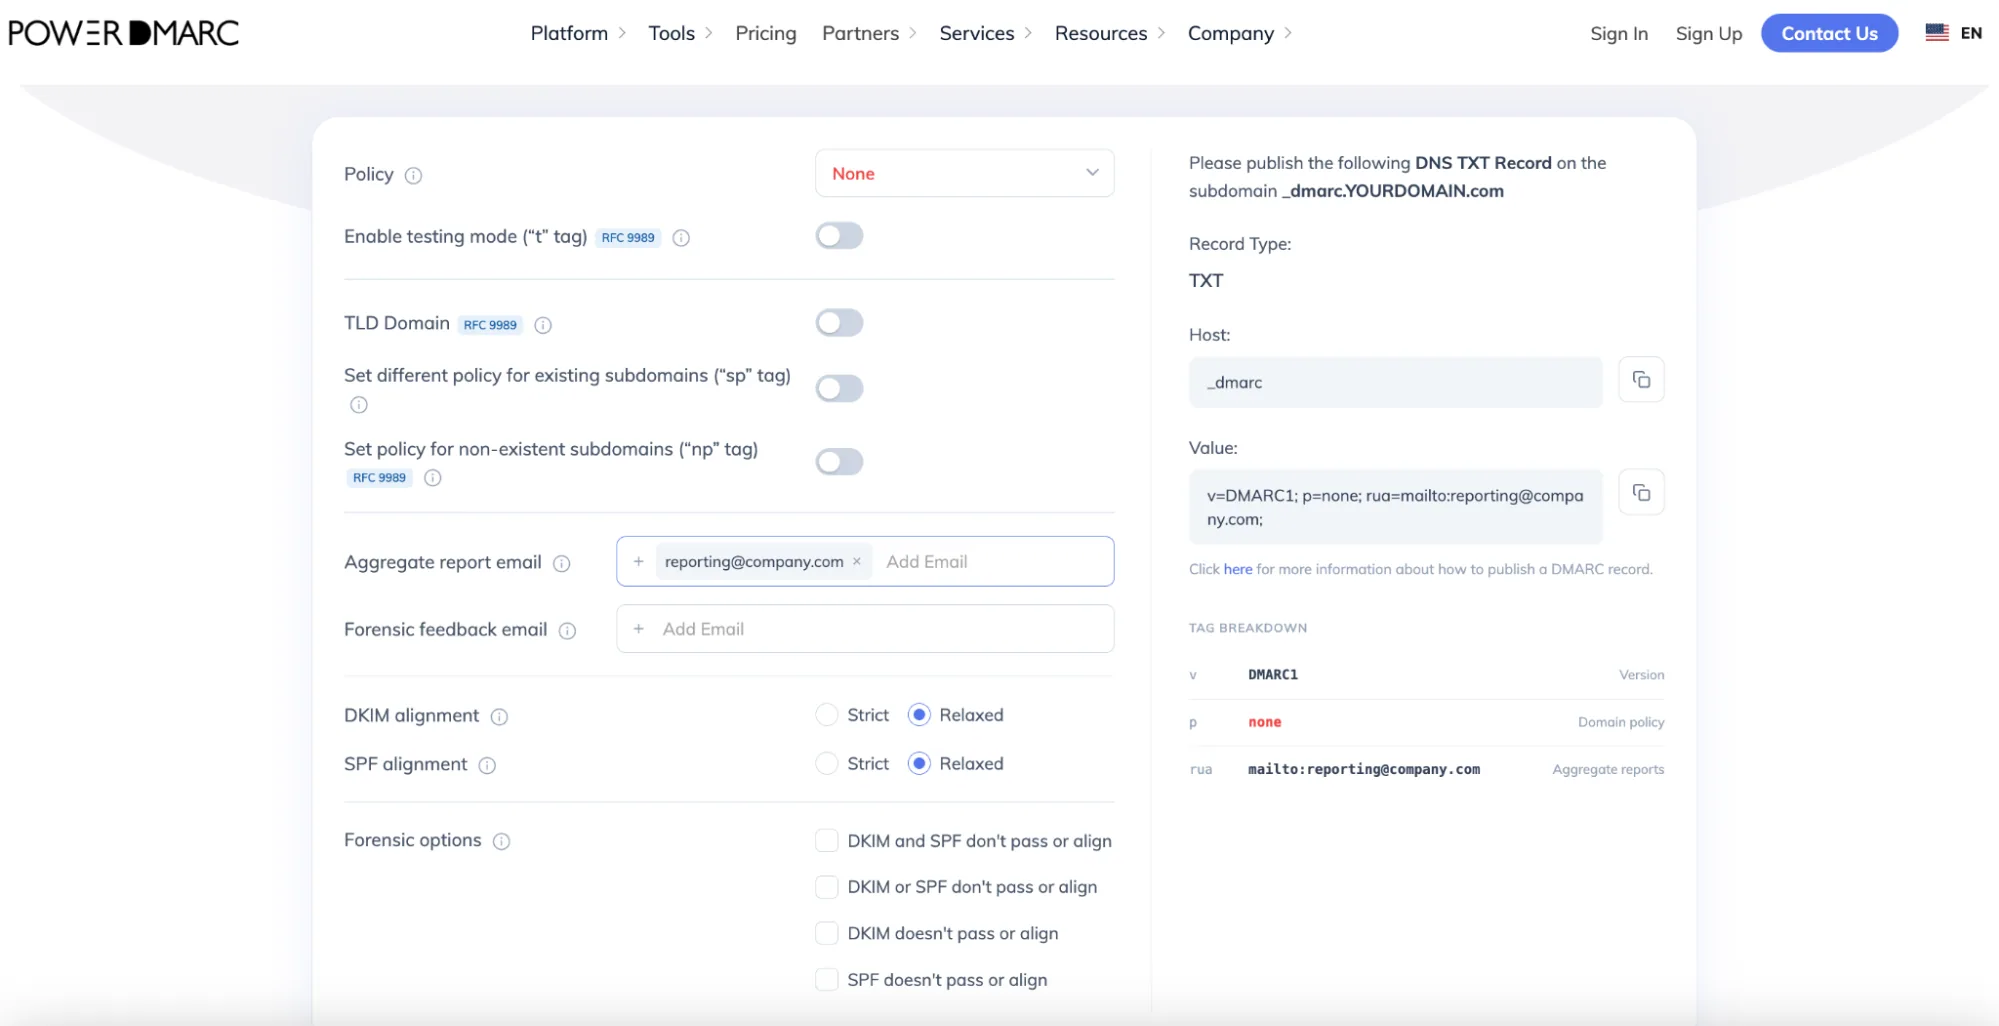
Here is a quick breakdown of the available policies:
Important: Do not jump straight to an enforcement policy. Doing so could block legitimate marketing communications. A monitoring policy helps you fix underlying issues safely.
To be absolutely certain everything is working, validate your published records using PowerDMARC’s free DMARC Record Checker.
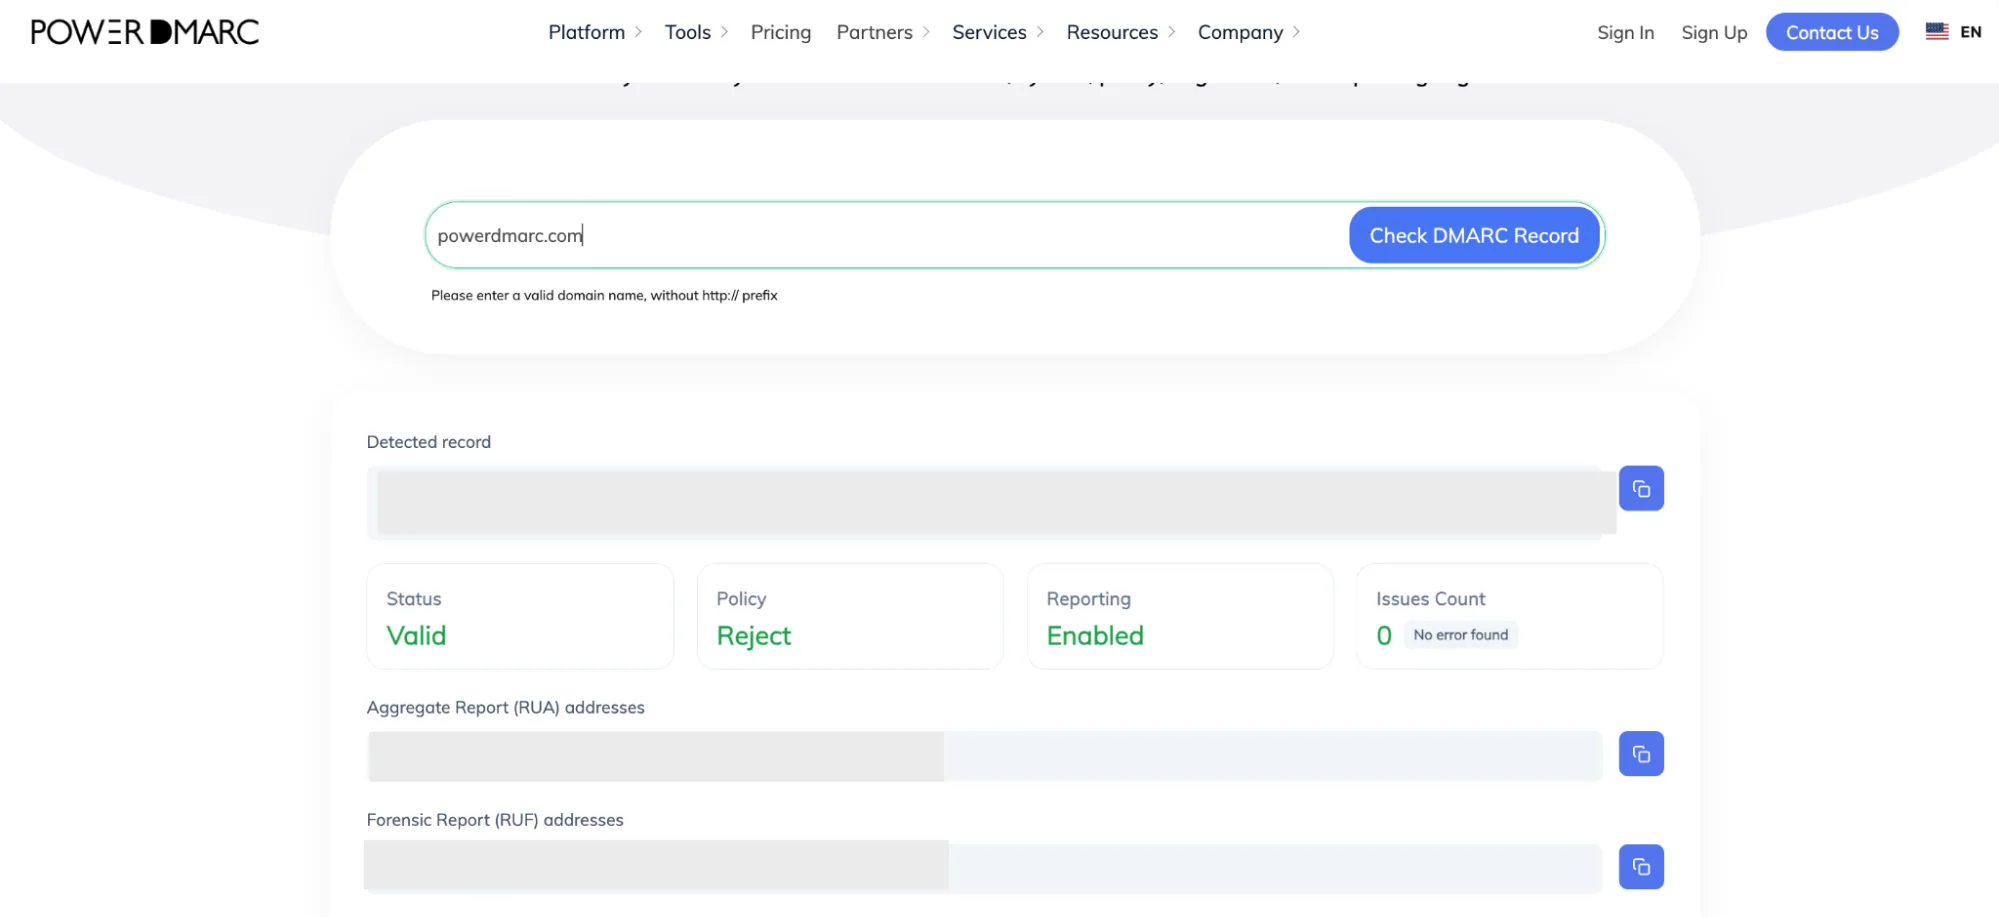
A successful check will display:
If your overall score is a bit low, it usually means you still need to implement advanced protections like BIMI or MTA-STS.
Ready to maximize your email security? The PowerDMARC team can help you confidently transition to DMARC enforcement, display your brand logo in customer inboxes with BIMI, and simplify your report monitoring.
Reach out to our team or book a PowerDMARC demo today to secure your business communications!







 Email Security Debt: The Cybersecurity Metric Nobody Measures