Network Solutions DKIM, DMARC, and SPF Setup Guide

by
Last Updated:
5 min read

by
Last Updated:
Key Takeaways
If you use Network Solutions to host your domain or manage your daily business email, configuring your domain authentication is an absolute necessity.
Setting up proper email authentication (SPF, DKIM, DMARC) ensures your domain is protected from spoofing. Without these records in place, your business emails run a high risk of landing in spam folders or being blocked entirely by major inbox providers like Gmail and Yahoo.
Network Solutions is a widely used domain registrar and email hosting provider. When you accurately configure the necessary security protocols for your custom domain, you will see immediate benefits:
To begin the setup process, you will need to log in to your Network Solutions Account Manager and navigate to your Advanced DNS settings.
An SPF record tells other email systems which servers are authorized to send email from your domain. Your exact SPF value depends on your specific Network Solutions email package.
If you do not have an existing SPF record, click +Add Record, select TXT from the dropdown menu, and enter @ in the Host field.
For the TXT Value, use the string that matches your service:
If your DNS already has an SPF record for other services like Google Workspace or Microsoft 365, do not create a second one. Simply add the correct Network Solutions include statement to your existing record right before the ~all tag.
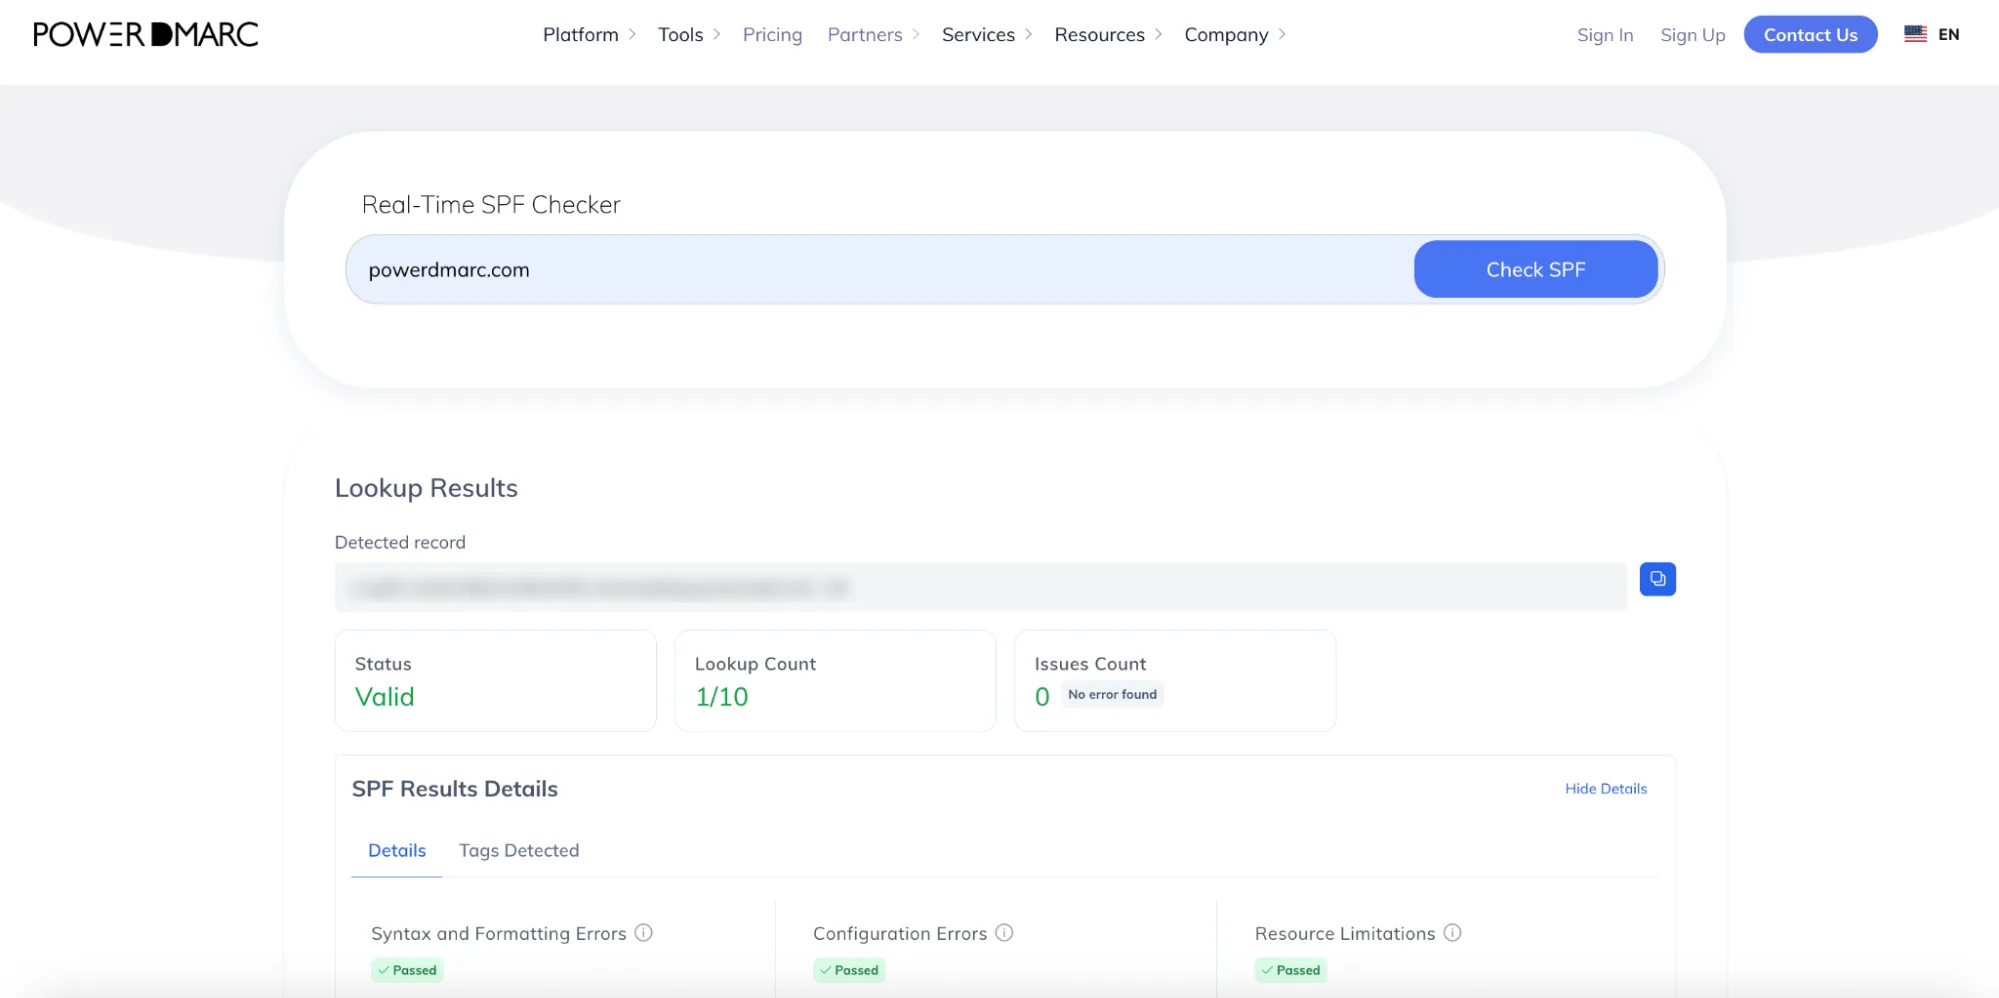
If you’re managing several sending sources and getting close to the limit, our Hosted SPF solution is worth looking into, and you can check your current record with PowerDMARC’s SPF checker.
DKIM adds a digital signature to your emails to prove they genuinely came from your company.
According to official documentation, Network Solutions automatically manages DKIM authentication for all Cloud Mail users directly on their platform. If you use Cloud Mail, no further action is required for DKIM.
If you use Network Solutions strictly for DNS hosting but manage your email through a third-party workspace provider like Google Workspace or Microsoft 365, you must generate your DKIM keys within that third-party admin console. Once generated, return to your Network Solutions Advanced DNS Manager to publish the provided CNAME or TXT records.
You can check the record itself with PowerDMARC’s DKIM checker.

With your SPF and DKIM protocols addressed, you need to publish a DMARC record to maintain visibility over your domain. DMARC helps protect your company’s reputation by defining how other servers should handle messages that fail security checks. Without reporting enabled, you will not know if your emails are failing authentication.
Use PowerDMARC’s free DMARC record generator to create a comprehensive record safely.

If you need a quick explanation of the DMARC policies, here is how they work:
Important: Jumping straight to enforcement risks blocking your own legitimate business emails. Starting with p=none is essential to map out your mail flow and fix any authentication issues safely. However, staying at p=none for too long is not recommended as it leaves your domain vulnerable to phishing and impersonation threats. Move to an enforcement policy as soon as you are confident with your setup.
1. Add your dedicated IT or security email address to the Reporting field to receive your DMARC aggregate reports.
2. Log in to your Network Solutions Advanced DNS Manager and add a new TXT record:
3. Save the record.
Step 1: Wait for Propagation
Any changes made within the Network Solutions DNS manager can take 24 to 48 hours to fully update and propagate across the internet.
Step 2: Run a Final Check with PowerDMARC
To guarantee that your DNS configuration is fully accurate and active across the globe, run an automated check:
Use PowerDMARC’s free DMARC Record Checker to verify that your record is published correctly.
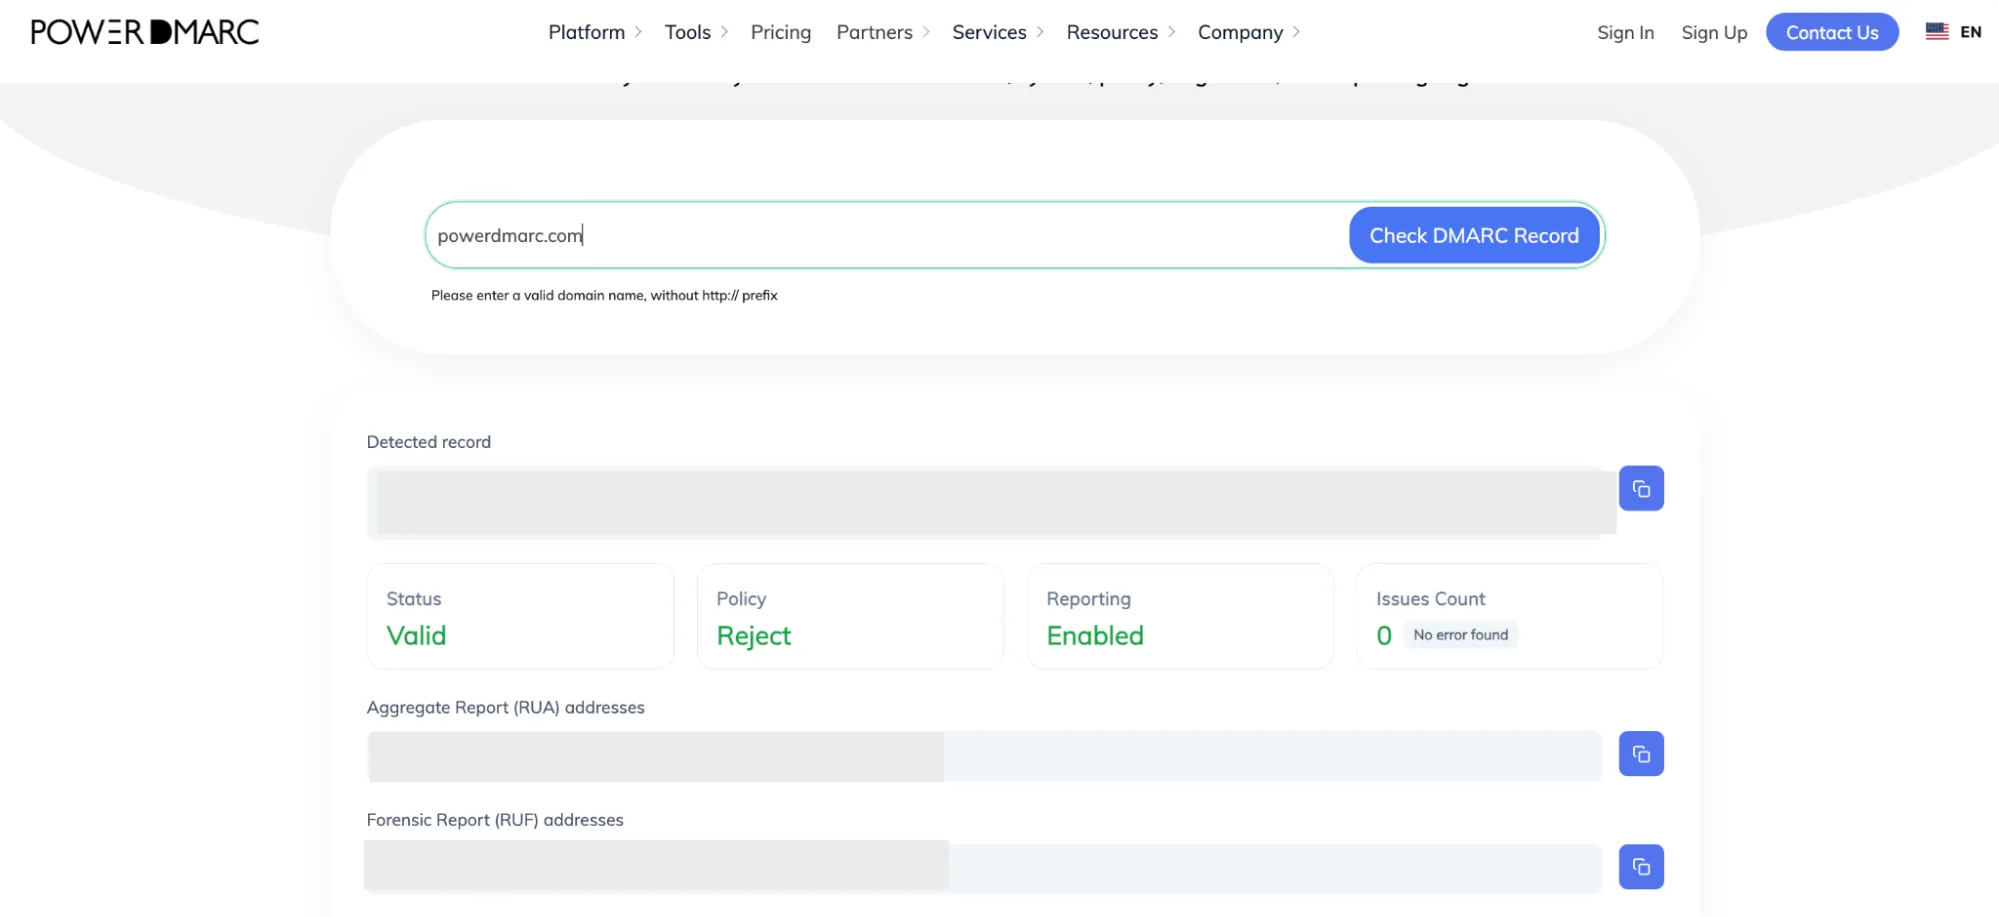
What to expect in your domain health results:
Securing your business email infrastructure is critical for maintaining professional trust and protecting your clients from fraud. If you want to take your email security further, move securely from p=none to DMARC enforcement without disrupting operations. Configure BIMI to display your logo in the inbox, and monitor your automated reports seamlessly. The PowerDMARC team is here to help.
Get in touch with us or sign up for a demo with PowerDMARC to experience the power of safer email communications firsthand!








 WP Engine DKIM, DMARC, and SPF Setup Guide