Twikey SPF, DKIM, and DMARC Setup Guide

by
Last Updated:
6 min read

by
Last Updated:
Key Takeaways
If you’re sending payment reminders, mandate confirmations, or invoicing emails through Twikey and haven’t yet authenticated your sending domain, this guide walks you through the full process.
Twikey lets you send these emails from your own domain rather than a generic Twikey address, but that convenience only works if the receiving mail servers trust it. SPF, DKIM, and DMARC are the three records that build that trust. Together they confirm that Twikey is allowed to send on your behalf, prove the message content hasn’t been altered in transit, and tell mailbox providers what to do with anything that fails both checks.
Twikey is a recurring billing and digital mandate platform used by businesses to collect payments, manage SEPA and other mandates, and send transactional correspondence like payment links and invoices to their customers. Because these emails often contain financial requests, they’re a natural target for spoofing, making authentication less a technical formality and more a fraud-prevention measure.
Setting up SPF, DKIM, and DMARC correctly gives you a few concrete benefits:
Twikey offers two ways to send emails, and the setup steps differ slightly depending on which one you pick.
Twikey handles delivery for you. Emails go into a send queue, so during high-traffic periods, such as the start of the month when billing volume spikes, delivery may lag by a few minutes.
You connect your own provider, such as SendGrid or Combell, giving you full control over sending and bypassing Twikey’s queue entirely. Note that Gmail and Office 365 aren’t supported as custom SMTP providers, since both require the FROM address to match the account username and both throttle outbound volume.
Whichever option you choose, the SPF and DKIM setup below applies the same way, since both rely on DNS records rather than the sending method itself.
SPF tells receiving mail servers which servers are authorized to send on behalf of your domain. If a message arrives claiming to be from your domain but originates from a server not listed in your SPF record, the receiving server has grounds to flag or reject it.
If you already have an SPF record, add Twikey’s include mechanism to it rather than creating a second record. A domain should only ever have one SPF TXT record; multiple records cause validation failures.
For example, if your current record reads:
v=spf1 include:_spf.google.com ~all
Update it to:
v=spf1 include:_spf.google.com include:_spf.twikey.com ~all
If you don’t have an SPF record yet, add a new TXT record:
| Field | Value |
|---|---|
| Name/Host | example.com. |
| Type | TXT |
| Value | v=spf1 include:_spf.twikey.com ~al |
One detail worth flagging to your IT team: Twikey does not resolve nested includes during its own validation check, so if your SPF setup already has a complex chain of includes, test carefully after adding this one.
If you’re running into the DNS lookup limit, SPF’s underlying specification caps the number of mechanisms that trigger a DNS lookup at ten per record, and each include typically counts as one. If you’re close to that ceiling, Twikey supports two alternative mechanisms that avoid an extra lookup:
If your SPF record is already over the limit across multiple services, sign up for out Hosted SPF solution today to resolve SPF errors and limitations dynamically.
DKIM attaches a digital signature to outgoing messages, which lets the receiving server confirm the email genuinely originated from Twikey’s infrastructure and wasn’t modified along the way. Twikey doesn’t make this mandatory, but it’s the single biggest lever for deliverability, since a DKIM pass is what typically carries DMARC compliance even when SPF alignment is imperfect.
Twikey’s DKIM setup uses two CNAME records rather than one, because it separates the live and testing environments:
| Name/Host | Type | Value |
|---|---|---|
| app._domainkey.example.com | CNAME | app._domainkey.twikey.com. |
| test._domainkey.example.com | CNAME | test._domainkey.twikey.com. |
The app selector covers production sending, while test covers Twikey’s beta environment. Both need to be present for DKIM to validate correctly, even if you’re not actively using the test environment yet.
Once the DNS records are live, head into Settings > Integrations > Email in your Twikey dashboard and choose your sending method.
For either method, enter a FROM address with a friendly display name, for example Twikey Support <[email protected]>, so the recipient sees a recognizable name rather than a raw email address. If you added the DKIM records in Step 2, enable the DKIM checkbox before running the test.
For a custom SMTP server, you’ll additionally need the host, port, and credentials from your provider. If you leave the port blank, Twikey defaults to 25, or 587 if SSL is enabled.
Click Test, confirm the test email arrives, and then save. If the test fails, it’s almost always one of three things: DNS hasn’t propagated yet, there’s a typo in one of the records, or the domain entered doesn’t match what’s in DNS. A DNS propagation checker can confirm whether the records have gone live yet.
This is the part Twikey’s own documentation doesn’t cover, because DMARC lives at the domain level rather than inside any single sending platform’s settings. It works alongside the SPF and DKIM records you just configured, but you publish it once for the whole domain, and it applies to every service that sends mail as you, not just Twikey.
Rather than guessing at the syntax, use PowerDMARC’s free DMARC record generator to build the record:
| Field | Value |
|---|---|
| Name/Host | _dmarc.example.com |
| Type | TXT |
| Value | [paste the generated record] |
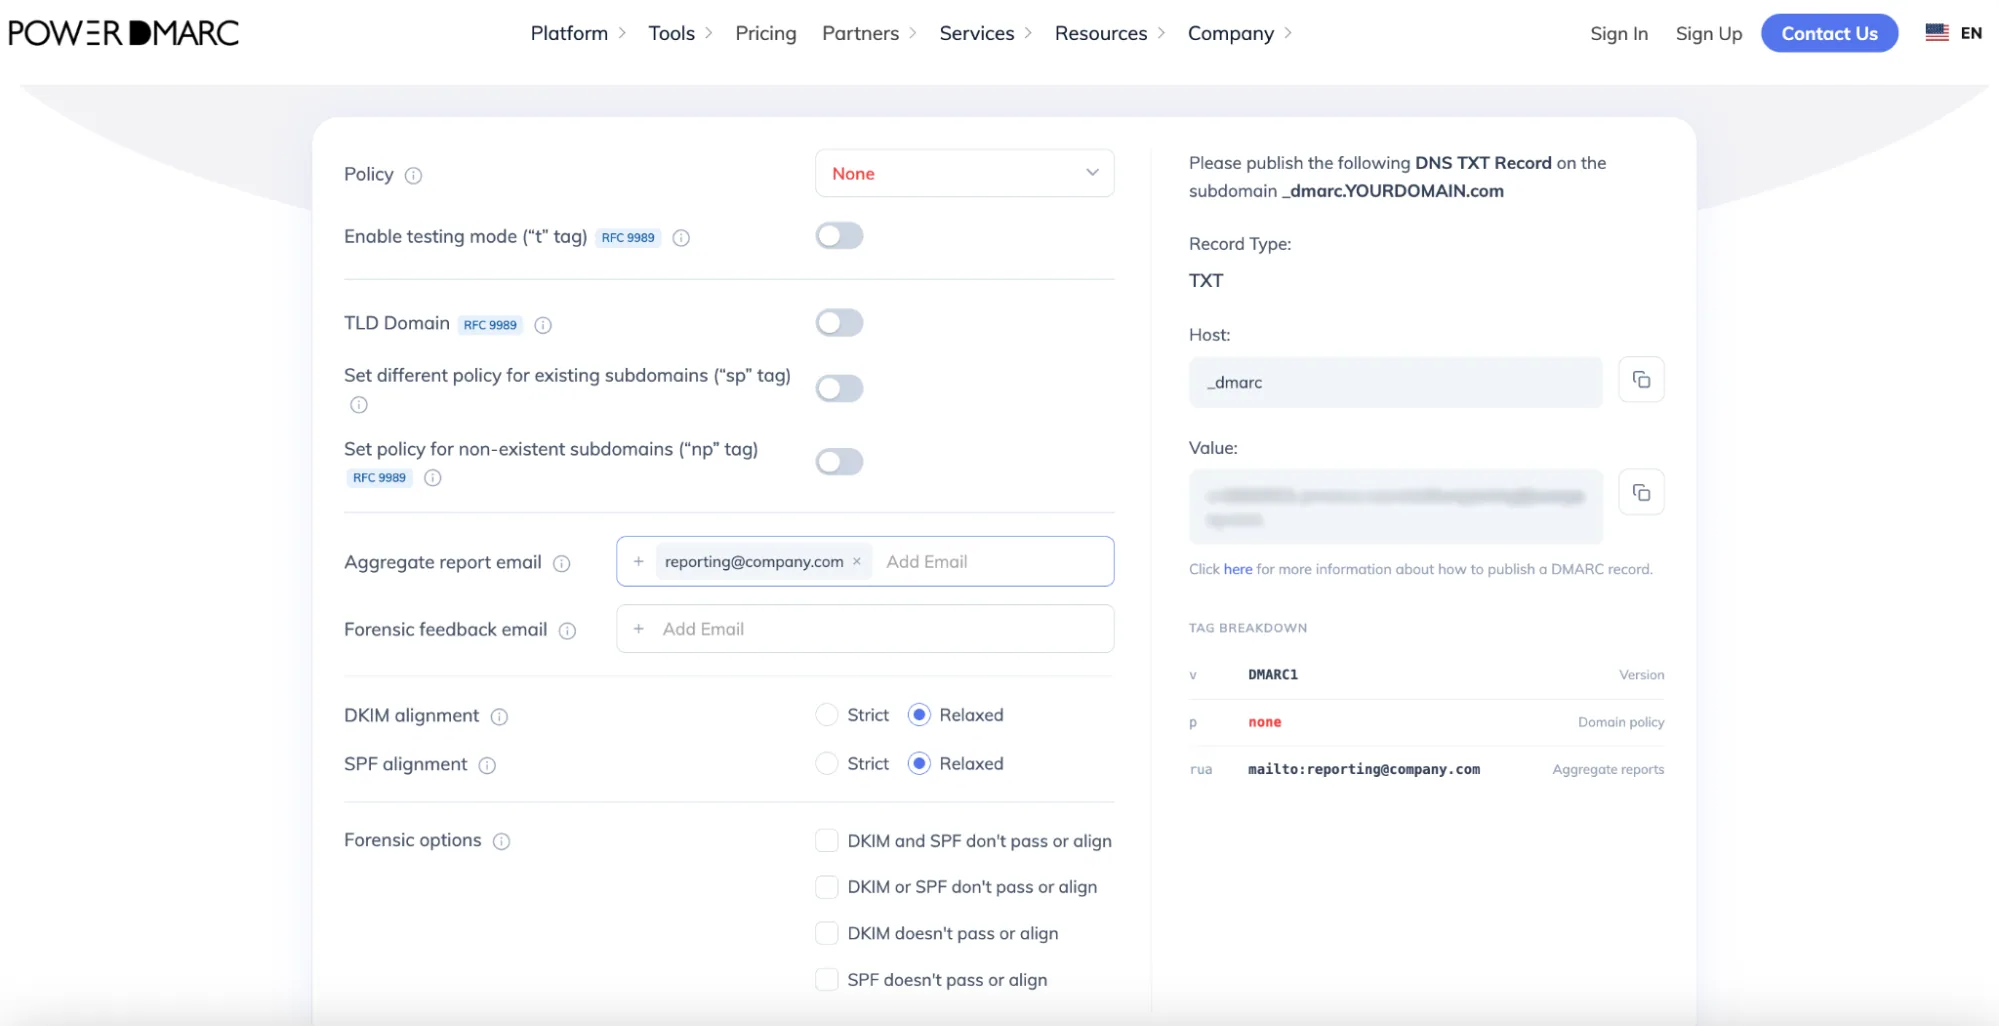
Once you’ve reviewed a few weeks of reports and confirmed Twikey and any other senders are authenticating properly, you can move the policy toward p=quarantine and eventually p=reject for full DMARC enforcement. Jumping straight to reject without that monitoring period risks blocking your own invoices and payment reminders, which defeats the purpose.
For more information, you can refer to Twikey’s official email authentication setup guide.
Beyond Twikey’s built-in test, it’s worth checking the DNS side independently:
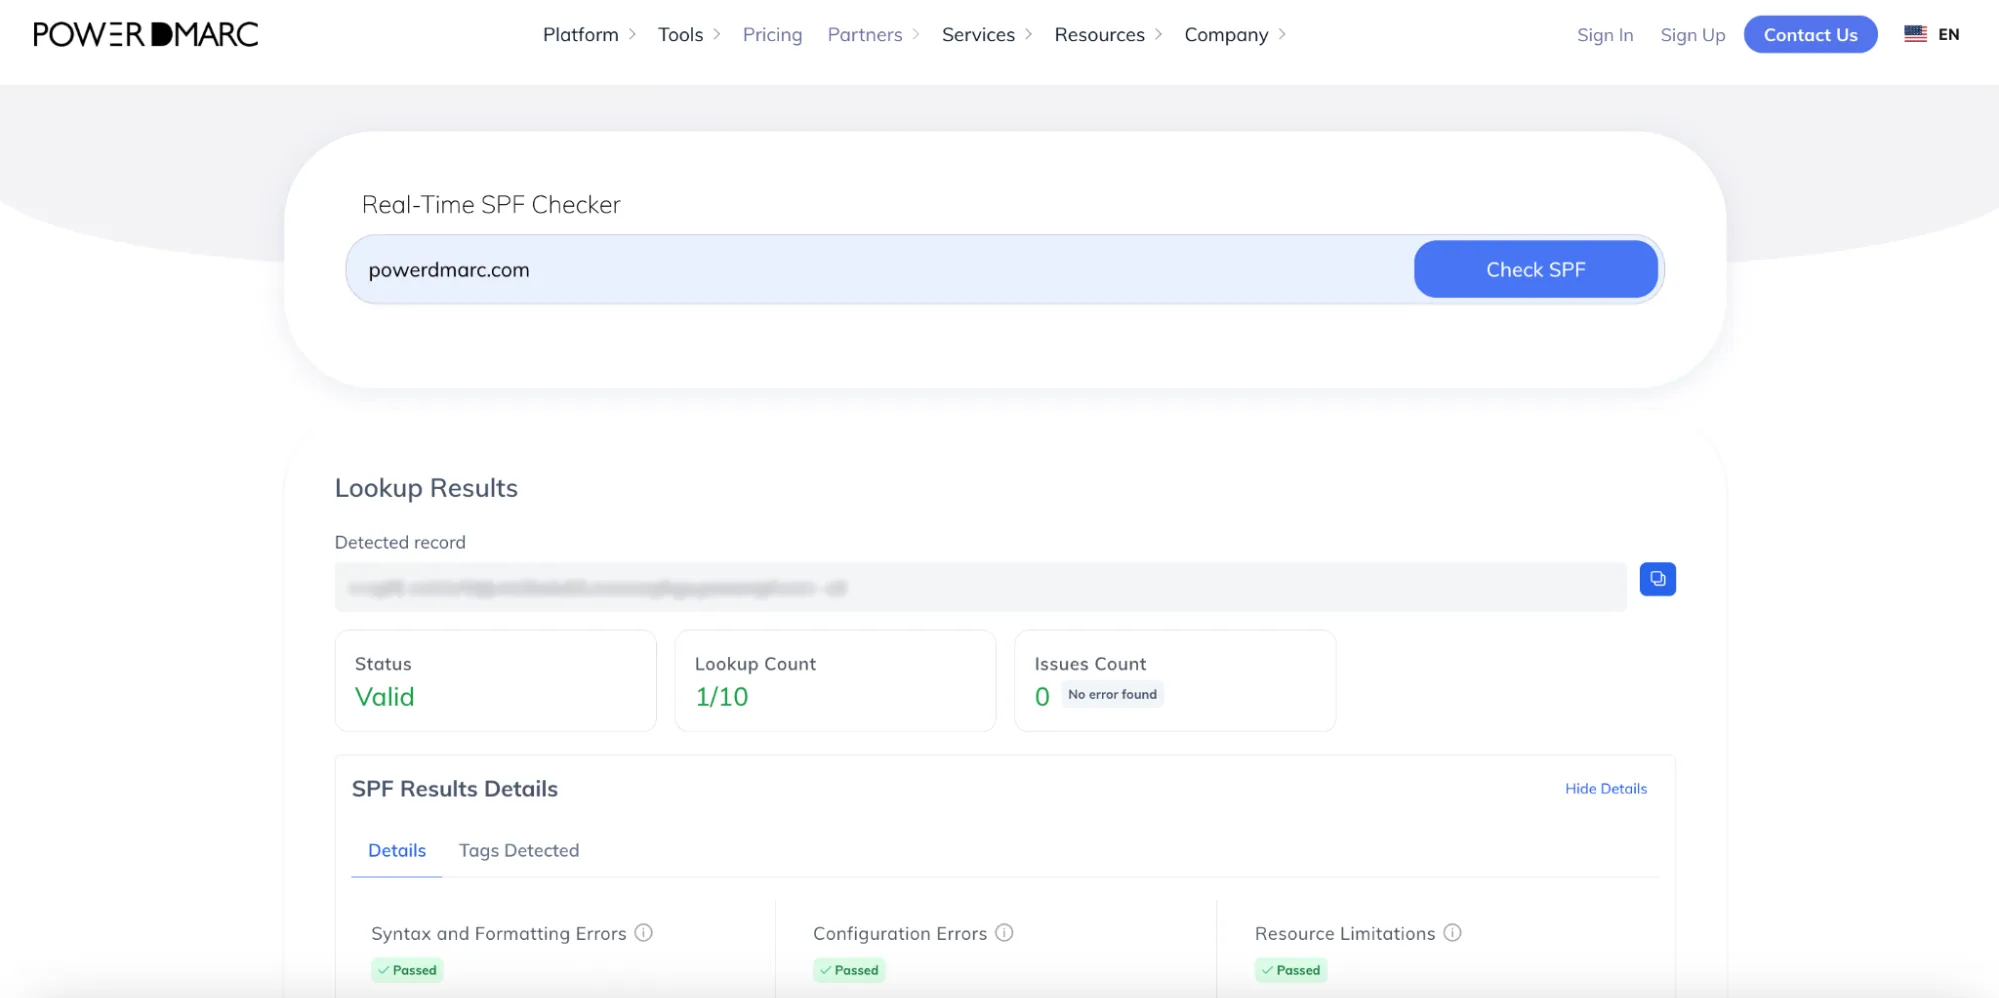
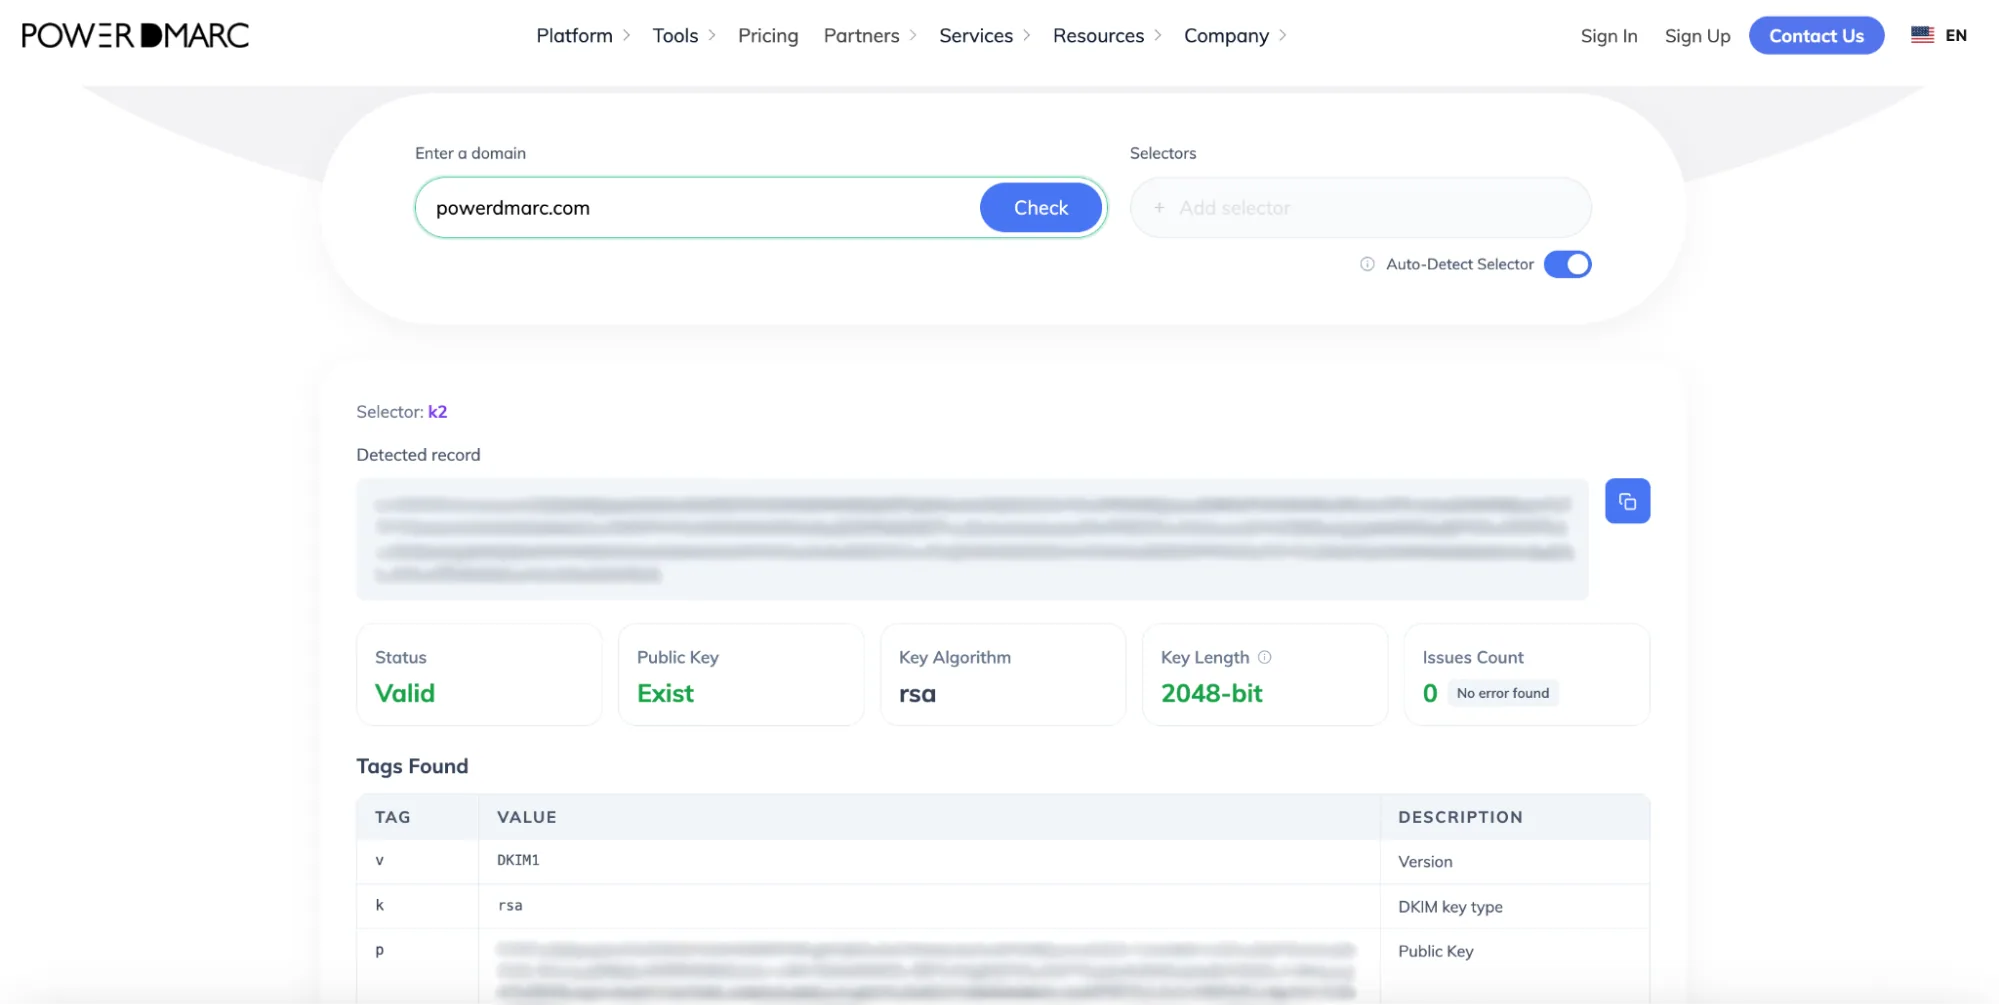
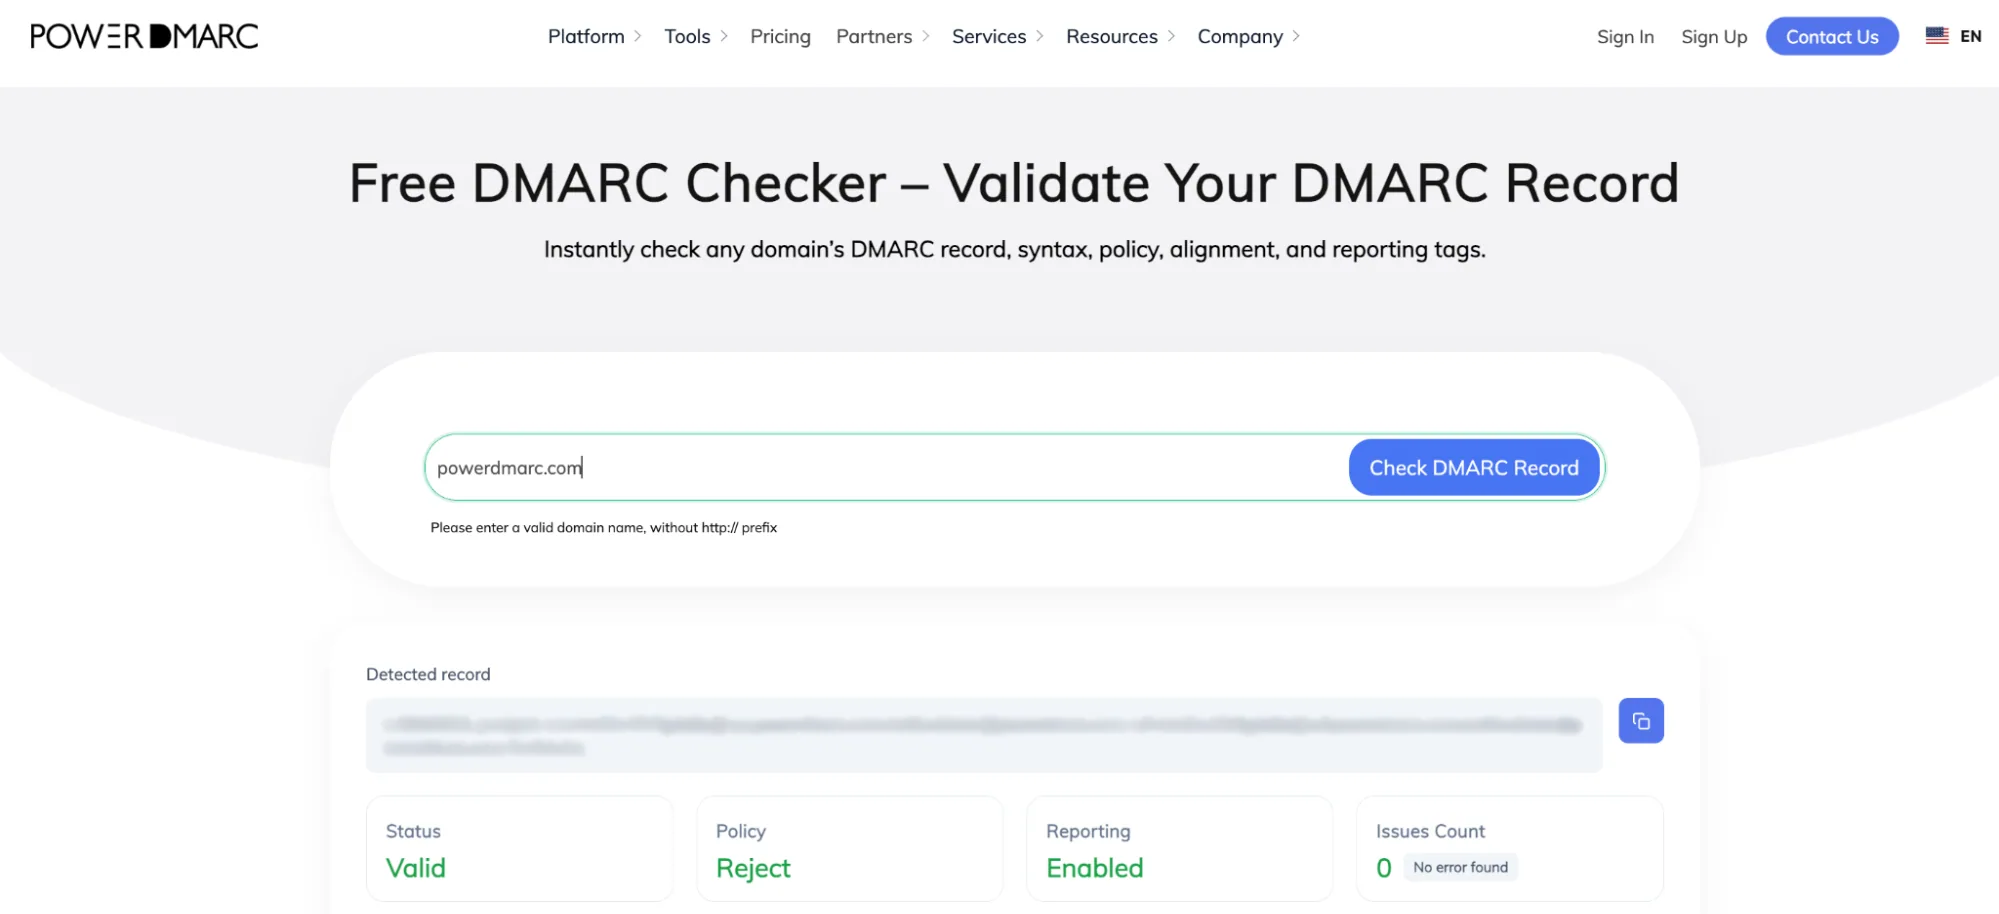
If any of these come back empty right after publishing, give it a day. DNS propagation for new records can take anywhere from a few minutes up to 48 hours depending on your registrar and existing TTL settings.
SPF and DKIM get your emails through the door, and DMARC tells receiving servers what to do with anything that doesn’t belong there. Twikey’s setup handles the first two well, but the domain-level DMARC record is on you to configure and monitor, and it’s worth doing properly given how much financial and mandate-related mail runs through a platform like this.
If you’d like a hand moving from a monitoring-only DMARC policy to full enforcement, or want ongoing visibility into who’s sending mail on your domain’s behalf, get in touch with the PowerDMARC team or book a demo to see the platform in action.








 DMARC Failure Reports (RUF): What They Are, How They Work, and How to Enable...