Cloudblast DKIM, DMARC & SPF Setup Guide

by
Last Updated:
8 min read


by
Last Updated:
Key Takeaways
Cloudblast is a cloud VPS hosting provider, not an email service. It gives you a server, a public IP address, and root access, but nothing resembling a “connect your sending domain” screen. If you’re using that VPS to run your own mail server, whether through Postfix, a control panel like CyberPanel or OpenPanel, or another SMTP application, setting up SPF, DKIM, and DMARC is entirely on you. This guide covers what to configure, where to configure it, and how to confirm it’s actually working.
Cloudblast markets itself around raw infrastructure: AMD EPYC-powered VPS plans, built-in DDoS protection, and hourly billing aimed at developers who want to run their own stack. None of that includes a managed email sending service, so if you’re pointing a mail server at your Cloudblast instance, whether for a SaaS product, a support inbox, or transactional email, your domain’s authentication is a manual, one-time DNS setup rather than something the host manages for you.
Getting SPF, DKIM, and DMARC right on a self-hosted setup gets you the same outcomes as any properly authenticated domain:
There’s no dashboard toggle for this. You’ll be working directly in your DNS provider and inside whatever mail software runs on the VPS.
Decide on a hostname for outbound mail, for example mail.yourdomain.com, and use it consistently across your setup.
1. Add an A record pointing mail.yourdomain.com to the IPv4 address Cloudblast assigned your instance. Add an AAAA record too if you’re sending over IPv6.
2. In your Cloudblast control panel, set the PTR (reverse DNS) record for that IP to the same hostname, so a lookup on the IP resolves back to mail.yourdomain.com.
3. Use that same hostname in your mail server’s SMTP greeting (EHLO/HELO) so it matches what’s published in DNS.
| Record | Type | Value |
|---|---|---|
| mail.yourdomain.com | A | 198.51.100.10 |
| 198.51.100.10 | PTR | mail.yourdomain.com |
None of this is checked by SPF, DKIM, or DMARC directly, but a mismatched or missing PTR record is a common reason mail from a self-hosted server gets rejected or filtered before authentication even comes into play.
Your SPF record needs to authorize the specific IP address your Cloudblast server sends from, since there’s no Cloudblast-provided mechanism to reference.
1. List every IP address (IPv4 and IPv6) that sends mail on behalf of this domain. If you’re only running one VPS, that’s usually just one address.
2. Check whether your domain already has an SPF record. If it does, add your Cloudblast IP to it. A domain can only have one SPF record, so never publish a second TXT record alongside an existing one.
3. In your mail software, set the envelope sender (Return-Path) to a domain you control, such as yourdomain.com or a subdomain like bounce.yourdomain.com. This is what lets SPF align with the visible From address for DMARC purposes.
4. Once you’ve confirmed the full list of senders, close the record with -all. Use ~all in the meantime if you’re still verifying you’ve captured everything.
Example SPF record:
yourdomain.com. TXT “v=spf1 ip4:198.51.100.10 -all”
If other tools also send mail as your domain, such as a CRM or a marketing platform, keep their mechanisms in the same record. SPF allows up to 10 DNS lookups for mechanisms like include, but a direct ip4 or ip6 entry, which is what you’ll typically use for a single VPS, doesn’t count against that limit.
If you’re managing several sending sources and getting close to the limit, our Hosted SPF solution is worth looking into, and you can check your current record with PowerDMARC’s SPF checker.

DKIM has to be generated inside your mail software, since there’s no Cloudblast-issued key to copy.
1. Generate a key pair using your mail server’s signing tool (OpenDKIM is common with Postfix, and most control panels have a built-in DKIM manager). A 2048-bit RSA key is the current recommendation, as long as your DNS provider supports the resulting record length.
2. Choose a selector name, which becomes part of the DNS record. Something identifiable works well, for example dkim2026.
3. Publish the public half of the key as a TXT record, with no line breaks or stray quotation marks left over from copying it out of a terminal.
Example DKIM record:
dkim2026._domainkey.yourdomain.com. TXT “v=DKIM1; k=rsa; p=[your public key]”
4. Configure your mail software to sign every outgoing message using d=yourdomain.com and s=dkim2026, matching exactly what you published.
Keep the private key restricted to the process that signs your mail, and rotate the selector if you ever suspect it’s been exposed. A record resolving correctly in DNS only confirms the public key is published; it doesn’t confirm your server is actually signing with the matching private key, which is why testing with a real message still matters.
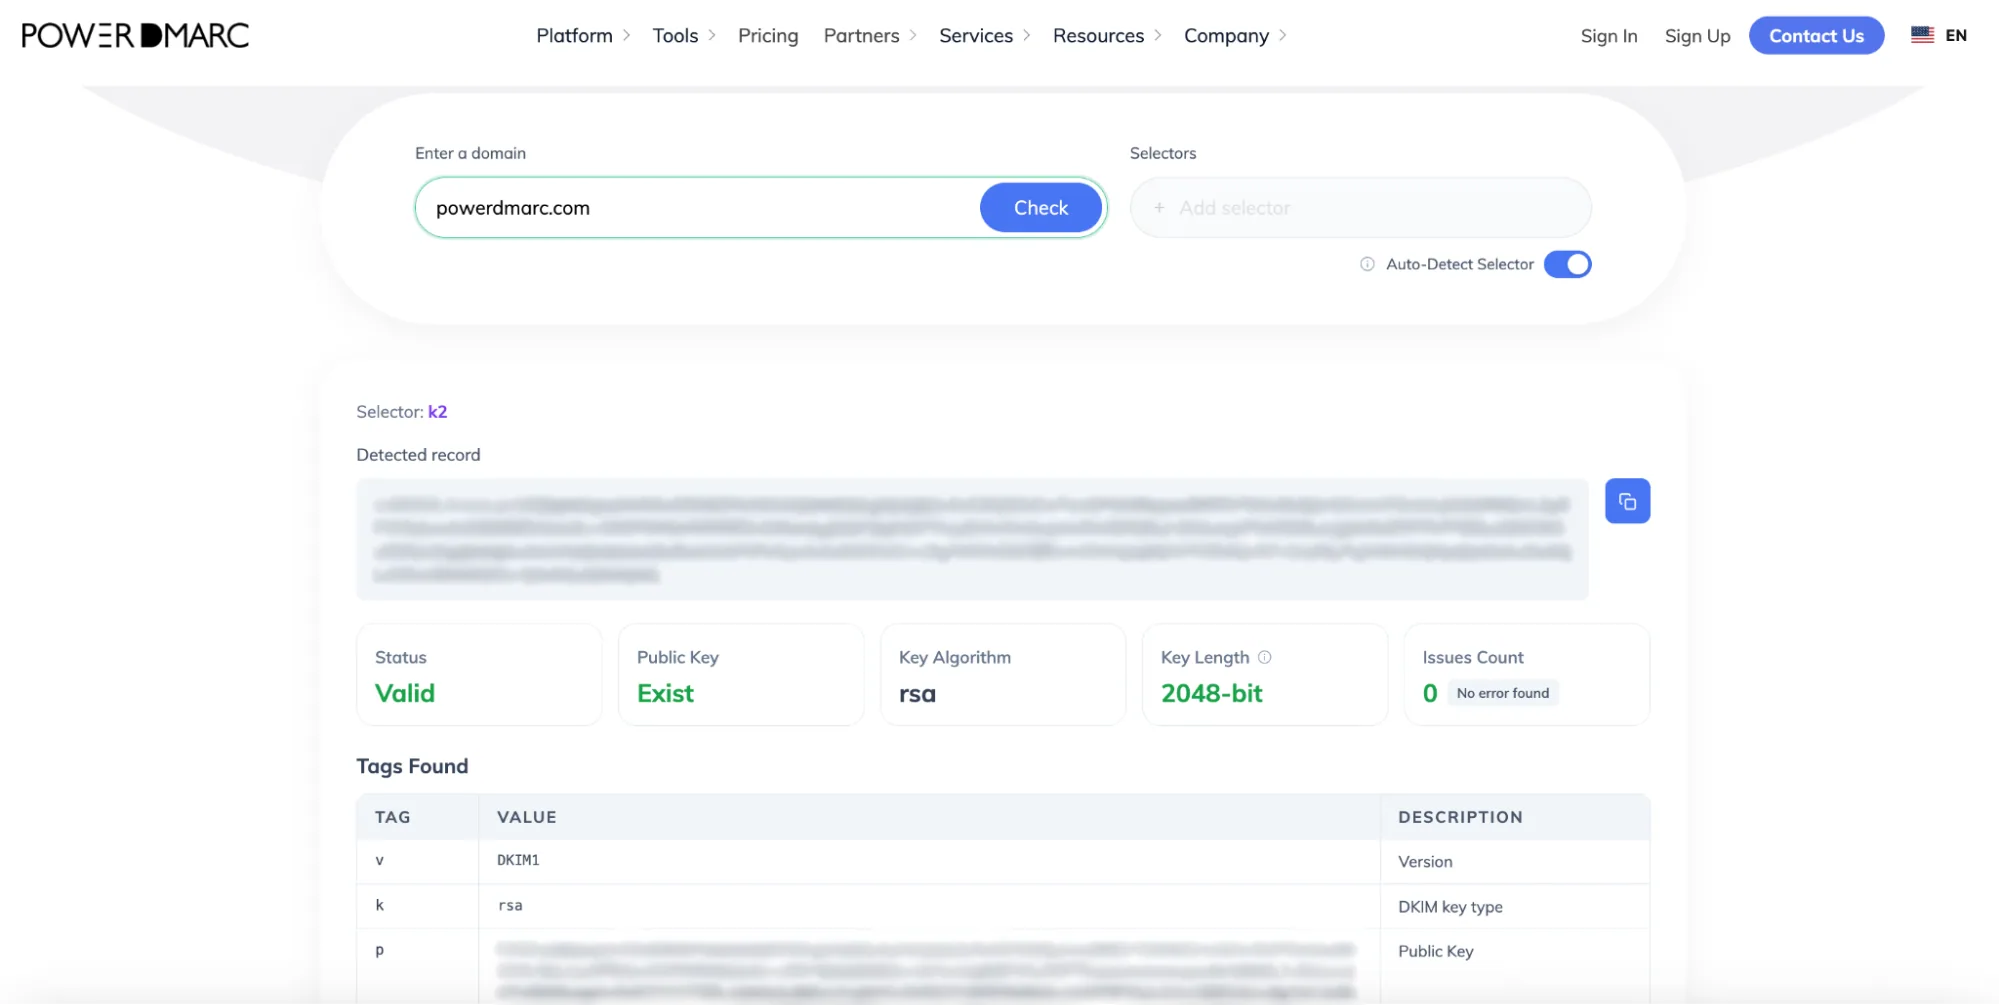
You can check the record itself with PowerDMARC’s DKIM checker.
Cloudblast has no involvement in DMARC at all; it’s published independently at the domain level and applies to every source sending mail as that domain, not just your VPS. Build one using PowerDMARC’s free DMARC record generator rather than writing the syntax by hand.
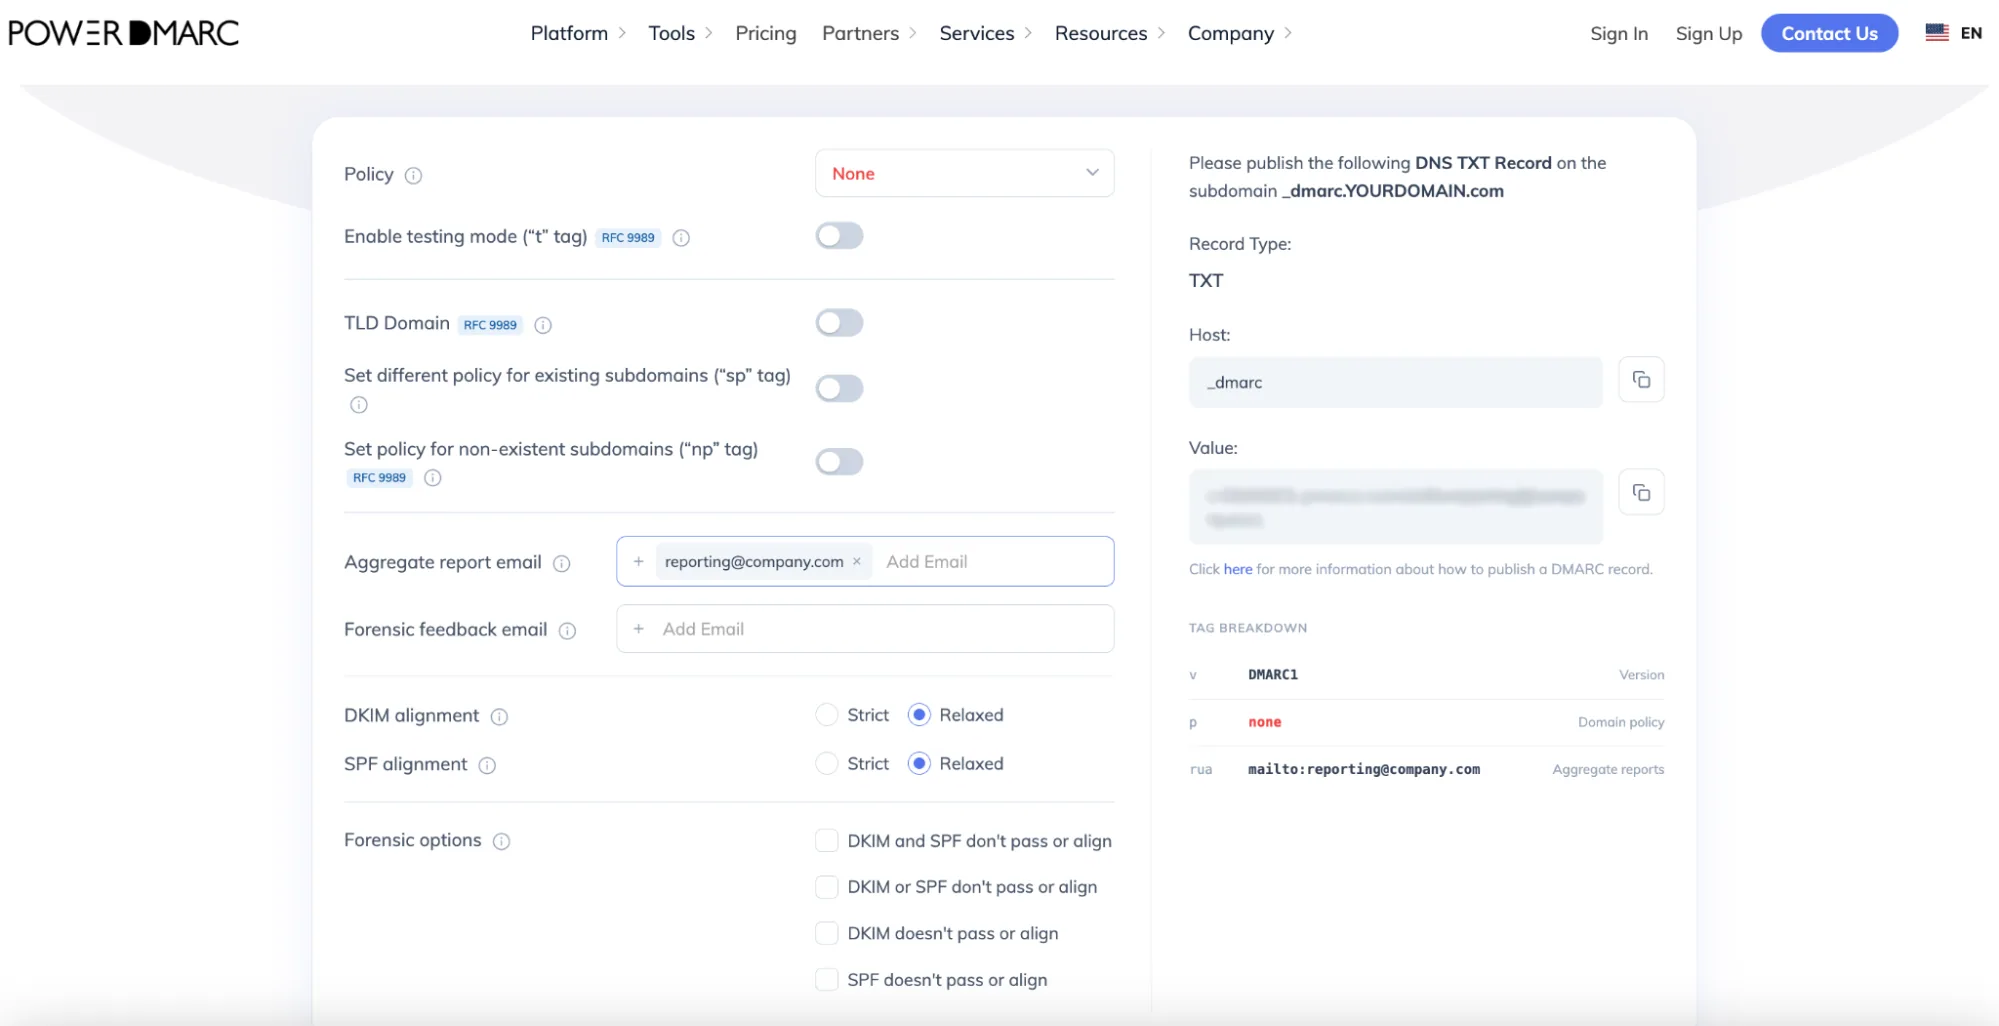
1. Set up a mailbox to receive aggregate reports if you don’t already have one, such as [email protected].
2. Start with the policy set to p=none. Here’s what the three options actually do:
3. Enter your reporting address in the rua field.
4. Publish the generated value as a single TXT record at _dmarc.yourdomain.com. If a DMARC record already exists there from an earlier setup, replace it rather than adding a second one.
Example monitoring-mode record:
_dmarc.yourdomain.com. TXT “v=DMARC1; p=none; rua=mailto:[email protected]”
With your envelope sender and DKIM d= value both pointed at your own domain from Steps 2 and 3, a self-hosted Cloudblast server is generally well-positioned to pass DMARC through either method. Still, don’t jump straight to p=reject before you’ve confirmed that with real data. If your domain already sits at p=quarantine or p=reject from a prior setup, leave that policy in place while you fix authentication for the Cloudblast server specifically.
Check the DNS records
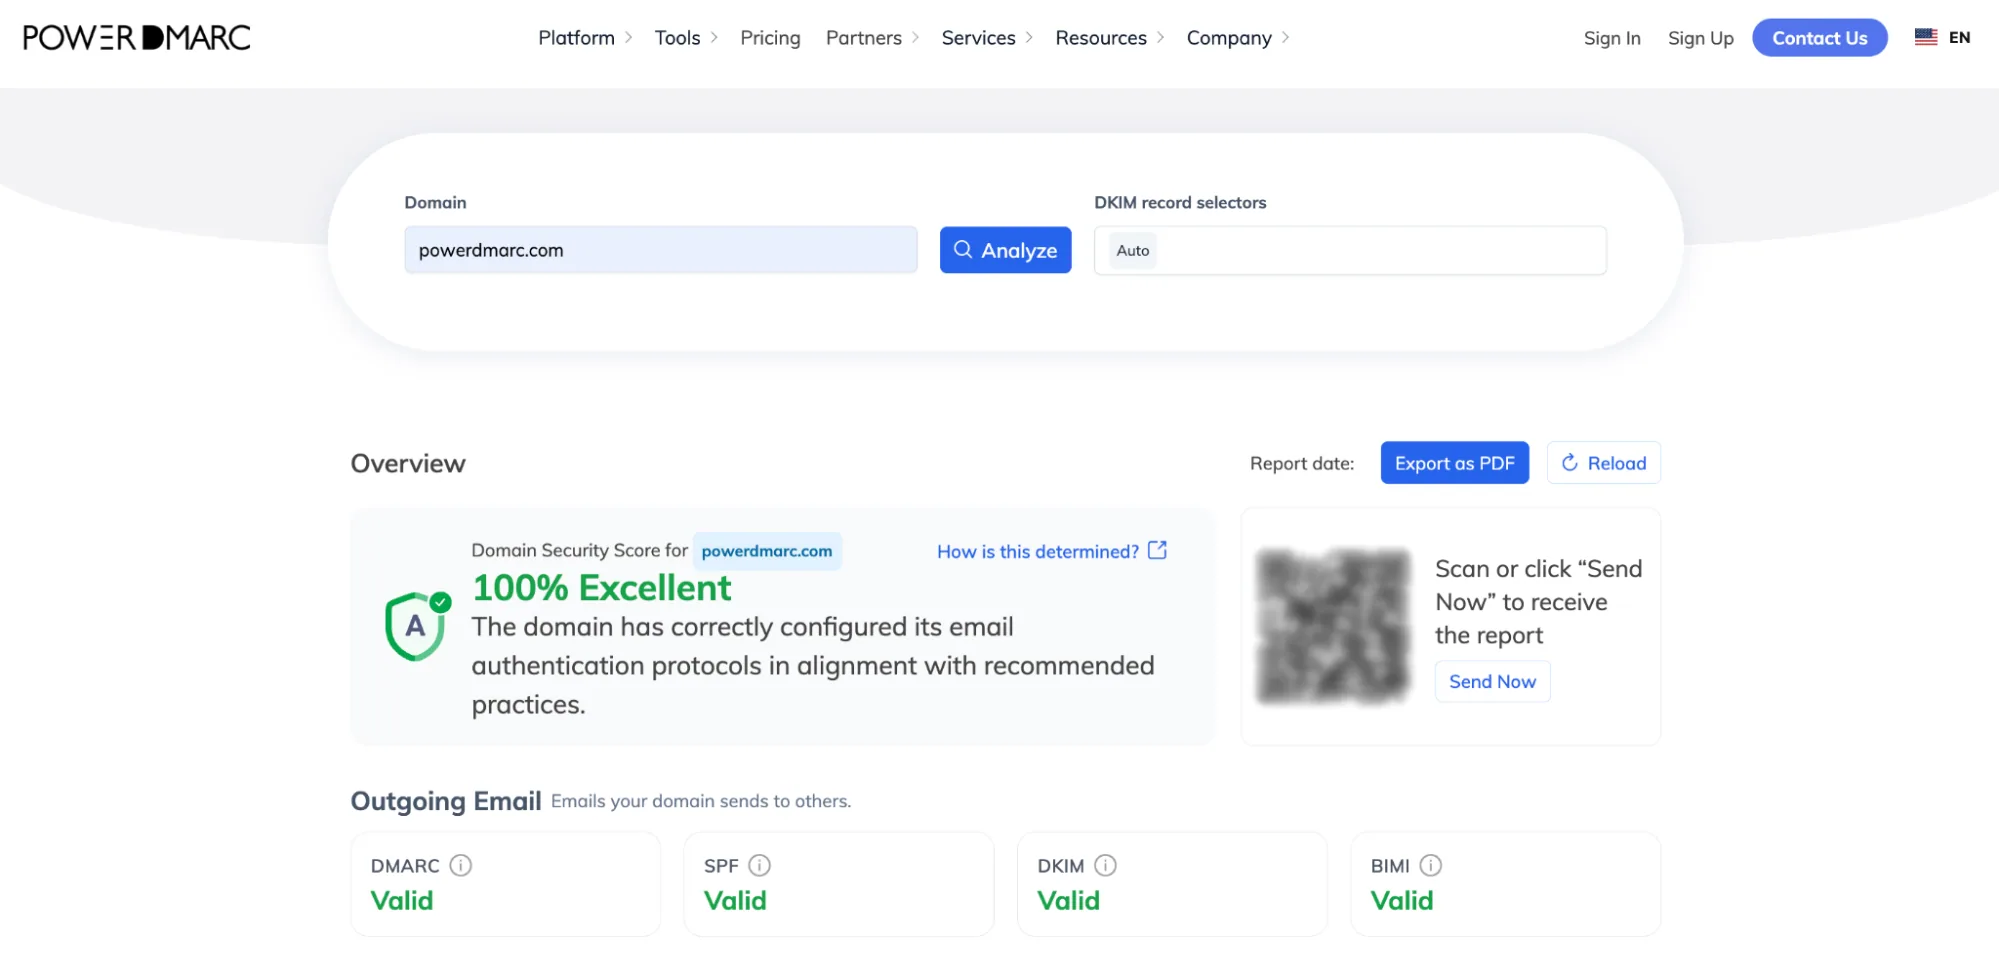
Look up your SPF, DKIM, DMARC, A, and PTR records to confirm they’ve been published correctly, and there aren’t any typos. PowerDMARC’s Domain Analyzer can check SPF, DKIM, and DMARC together in one pass.
Send a real test email
A record resolving in DNS doesn’t prove your server is using it. Send an actual message through the same application and credentials your production mail uses, not a separate desktop email client, which would take a different path entirely.
Read the authentication results
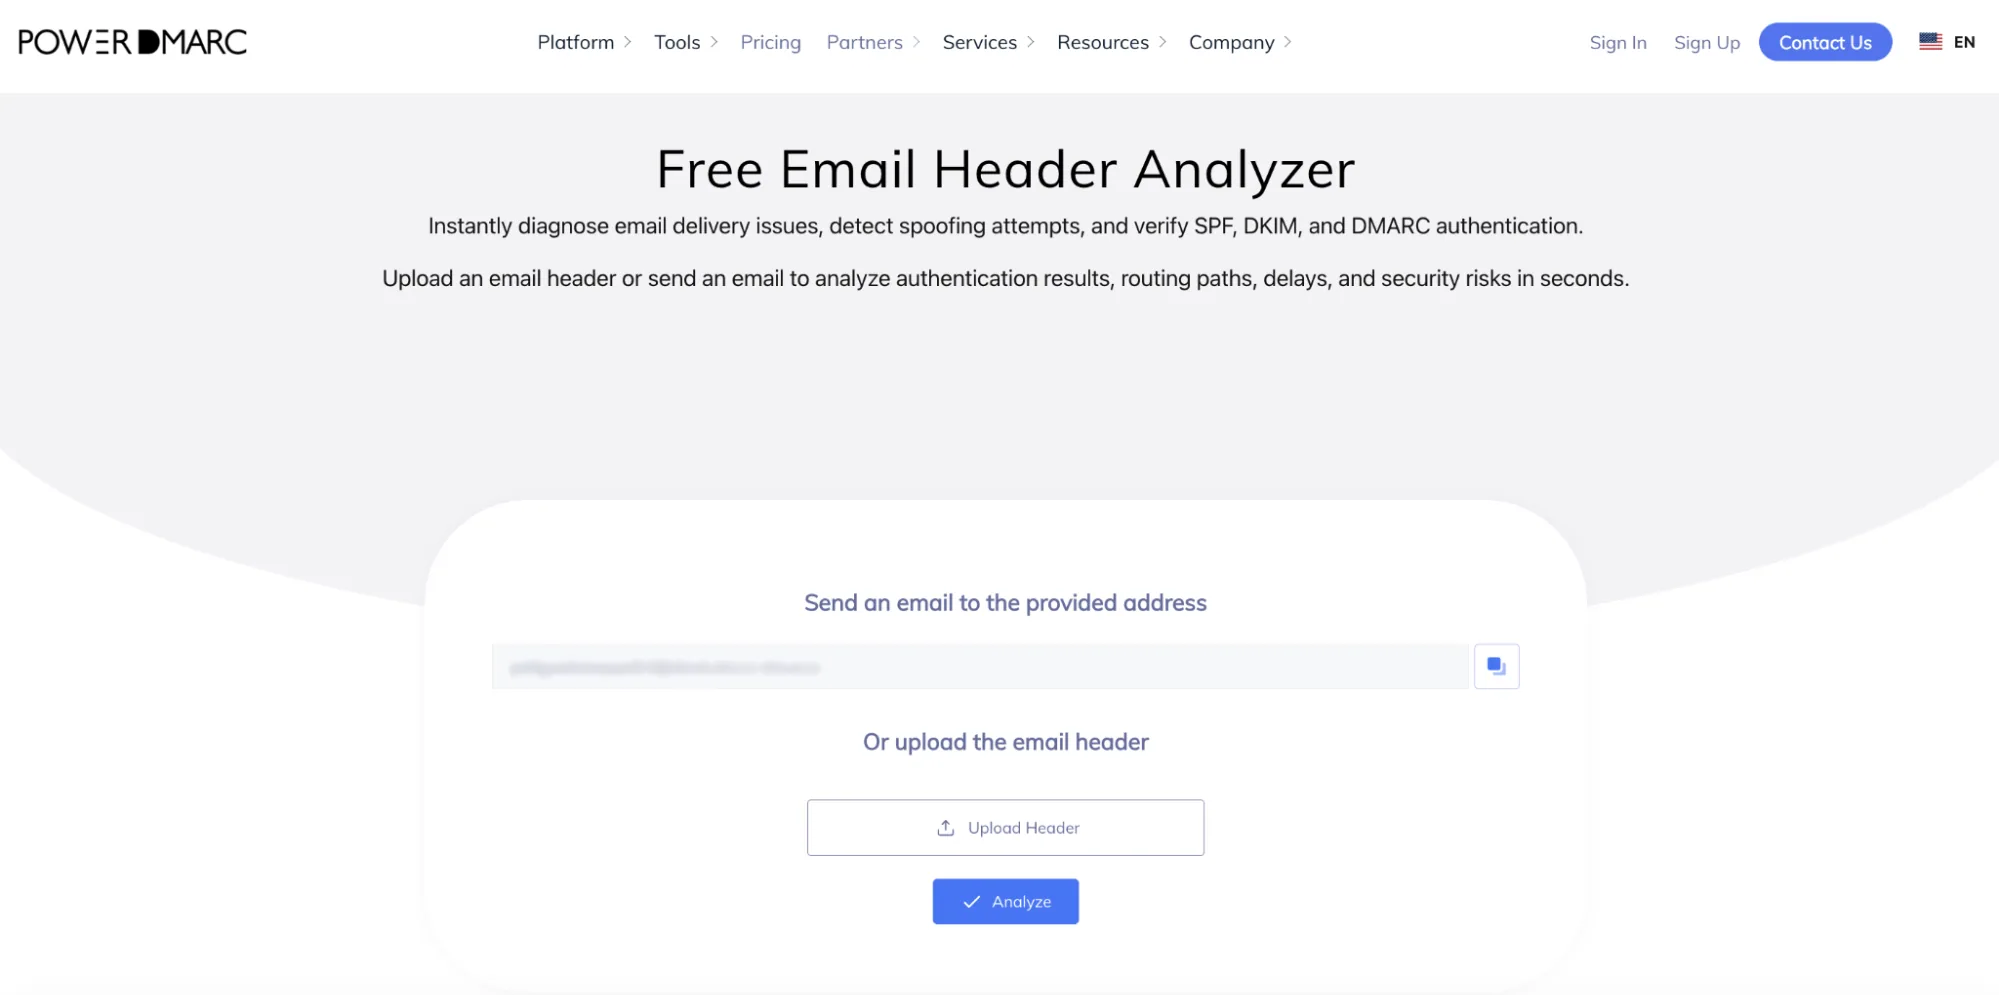
Open the message headers and check for spf=pass, dkim=pass, and dmarc=pass. Confirm header.from lines up with both smtp.mailfrom (SPF) and header.d (DKIM). If you’d rather not parse raw headers, PowerDMARC’s email header analyzer does it for you.
| Result | Likely cause | Fix |
|---|---|---|
| SPF fail | Sending IP missing from the record | Add your Cloudblast IP to the SPF record |
| DKIM none | Signing not enabled | Turn on DKIM signing in your mail software |
| DKIM fail | Public and private keys don't match | Regenerate and republish the key pair |
| DMARC fail | Neither SPF nor DKIM aligns with the From domain | Recheck the envelope sender and d= value |
If anything fails on the first try, give DNS 24 to 48 hours to propagate before troubleshooting further; a record that was just published won’t be visible everywhere immediately.
How is this setup different from configuring SPF, DKIM, and DMARC on an email platform?
On a platform like Kit or Twikey, the provider generates the SPF include and DKIM CNAME values for you, and you simply copy them into DNS. On Cloudblast, there’s no equivalent screen. You’re the one generating the DKIM key pair and identifying the sending IP, because Cloudblast only hosts the server, it doesn’t run the mail application on top of it.
I skipped the reverse DNS (PTR) step and only set up SPF, DKIM, and DMARC. Will authentication still work?
SPF, DKIM, and DMARC will still evaluate normally, since none of the three protocols check PTR records directly. However, several mailbox providers reject or heavily filter connections from an IP whose reverse DNS doesn’t resolve to a matching hostname, so mail can still get flagged or blocked at the connection stage even with all three records published correctly.
I host several domains on the same Cloudblast VPS. Can they all use the same DKIM selector?
Selectors are scoped per domain in DNS (selector._domainkey.yourdomain.com), so the same selector name can technically be reused across different domains without conflict, as long as each domain publishes its own matching public key. What matters is that the d= value in each signed message matches the domain whose DNS holds that selector’s key.
My SPF record already lists other services (like a CRM or support tool). Will adding my Cloudblast IP break those?
No, as long as you edit the existing record instead of publishing a second SPF TXT record at the same host. Add your Cloudblast IP as an additional ip4 mechanism alongside the existing ones. A domain having two separate SPF records is what causes SPF to fail, not having multiple mechanisms inside one record.
How soon after publishing my DMARC record will I see my Cloudblast IP in aggregate reports?
Most major receivers send aggregate (rua) reports on a roughly 24-hour batching cycle, so expect at least a day before your first report arrives, and possibly longer depending on how much mail volume that receiver sees from your domain.
Do I need to keep checking authentication after the initial setup, or is this a one-time task?
It’s worth treating as ongoing. A VPS setup can drift silently: an IP gets reassigned during a migration, a DKIM selector gets rotated, or someone edits a DNS record by hand, and none of that produces an error message at send time. Regularly reviewing DMARC aggregate reports is how you catch that kind of drift before it affects deliverability.
Self-hosting mail on a Cloudblast VPS gives you full control over your sending infrastructure, but it also means SPF, DKIM, and DMARC are entirely on you to configure and keep an eye on. If you want a second pair of eyes on your policy, a path from monitoring to enforcement, or ongoing alerts when something changes, the PowerDMARC team is here to help.
Get in touch with us or sign up for a demo with PowerDMARC to see how continuous authentication monitoring works for a self-managed setup like this.









 What Is DMARC Quarantine? p=quarantine Policy Explained