Postmark SPF, DKIM & DMARC Setup
by
Last Updated: 5 min read
by
Last Updated: Configuring SPF, DKIM, and DMARC for Postmark helps ensure that your emails are properly authenticated and consistently reach your recipients’ inboxes.
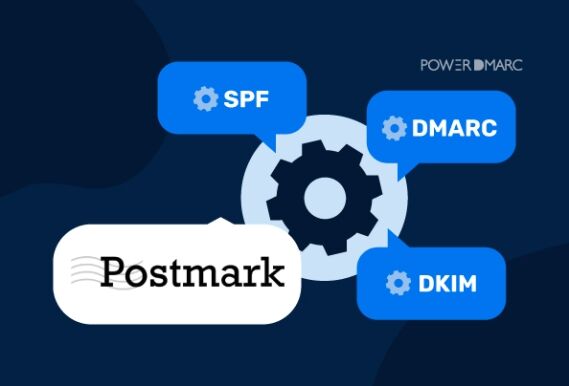
But what do these terms really mean? SPF (Sender Policy Framework) specifies which mail servers are authorized to send emails on behalf of your domain. DKIM (DomainKeys Identified Mail) attaches a cryptographic signature to each message to confirm it hasn’t been tampered with. DMARC (Domain-based Message Authentication, Reporting & Conformance) instructs receiving mail servers on how to handle messages that fail authentication and provides visibility into your email delivery.
When implemented together, these protocols safeguard your brand from phishing and spoofing attacks, strengthen your sender reputation, and improve overall deliverability. Follow this step-by-step guide to configure SPF, DKIM, and DMARC in Postmark.
As Postmark’s document suggests, you don’t need to create a separate SPF record for Postmark anymore.
Earlier, the recipient’s server used to check the From domain for SPF alignment. Now, the Return-path domain is checked. Since Postmark automatically includes its sending IPs and SPF record in the Return-Path, your messages already pass SPF checks by default, with no extra setup required.
Adding Postmark to an existing SPF Record
As explained above, this is not required. However, for anyone who wishes to include Postmark in their existing SPF record can incorporate the following include mechanism in their TXT record:
include: spf.mtasv.net

Alternatively, here’s the process for CNAME configuration for Postmark SPF:


Finally, it’s time to configure your Postmark DMARC record.
1. Use our DMARC generator tool to create a new DMARC record. You can start with a p=none policy if you are just starting out; however, remember to upgrade to p=quarantine/reject once you are confident with your deliverability.

2. In your DNS provider, create a new TXT record.
3. For the Host or Name of the record, enter _dmarc
4. For the Value, paste your DMARC record, policy, and reporting address

5. Save the TXT record.
For your peace of mind, after DNS propagation, use PowerDMARC’s SPF, DKIM, and DMARC checker tools for instant and accurate validation.
1. First, sign up with PowerDMARC.

2. On the sidebar on the left, navigate to Dashboard > Analysis Tools > PowerToolbox > Lookup Tools.

3. First, let’s check your DKIM record. Click on DKIM Record Lookup.

4. Enter your domain in the field and click Lookup DKIM.

5. Now, time to check the SPF record. Click on SPF Record Lookup.

6. Enter your domain and click on Lookup.

7. Now, let’s check your DMARC record. In the Lookup Tools, click on DMARC Record checker.

8. As a last step, enter your domain in the field and click Lookup.

Congratulations, you’re all set!
When you accurately configure SPF, DKIM, and DMARC for Postmark, you can:
If you run into any difficulties during setup or need expert guidance, our team is here to help.
Contact us or schedule a demo with PowerDMARC to see how we can simplify your authentication process, strengthen your email security, and help you achieve flawless deliverability.

 What Is Fileless Malware? How It Works and How to Stop It