QQ Mail & Tencent Enterprise Mail Authentication Guide: SPF, DKIM, and DMARC

by
Last Updated:
5 min read

by
Last Updated:
Key Takeaways
When your organization uses QQ Mail or Tencent Enterprise Mail to send business communications, your emails are addressed from your corporate domain (e.g., yourdomain.com) but are physically dispatched from Tencent’s mail servers.
Without proper DNS authorization, inbox providers may flag this discrepancy as a spoofing risk. By implementing SPF, DKIM, and DMARC, you bridge this trust gap, drastically lowering bounce rates, preventing domain spoofing, and ensuring your messages reach the inbox.
Leaving your outbound emails unauthenticated carries significant operational risks. Configuring these protocols yields immediate benefits:
SPF tells receiving servers which IP addresses and domains are permitted to send mail for your domain.
If your domain does not yet have an SPF record, you need to add a new TXT record in your DNS hosting provider’s console (e.g., Cloudflare, GoDaddy, or your enterprise DNS administrator).
v=spf1 include:spf.mail.qq.com ~all
If your domain already has an SPF record (such as one for a CRM, marketing platform, or help desk), do not create a second SPF record. Creating multiple SPF records will cause validation errors and break your email authentication.
Instead, edit your existing TXT record and insert include:spf.mail.qq.com right before the final mechanism (such as ~all or -all).
v=spf1 include:example-mailer.com ~all
v=spf1 include:spf.mail.qq.com include:example-mailer.com ~all
Pro Tip: Every time you add an include statement, it counts against the strict 10-lookup limit for SPF. If combining includes risks exceeding this limit, use PowerDMARC’s Hosted SPF / SPF Flattening to keep your record compact and error-free. You can review your current lookups using PowerDMARC’s SPF checker.
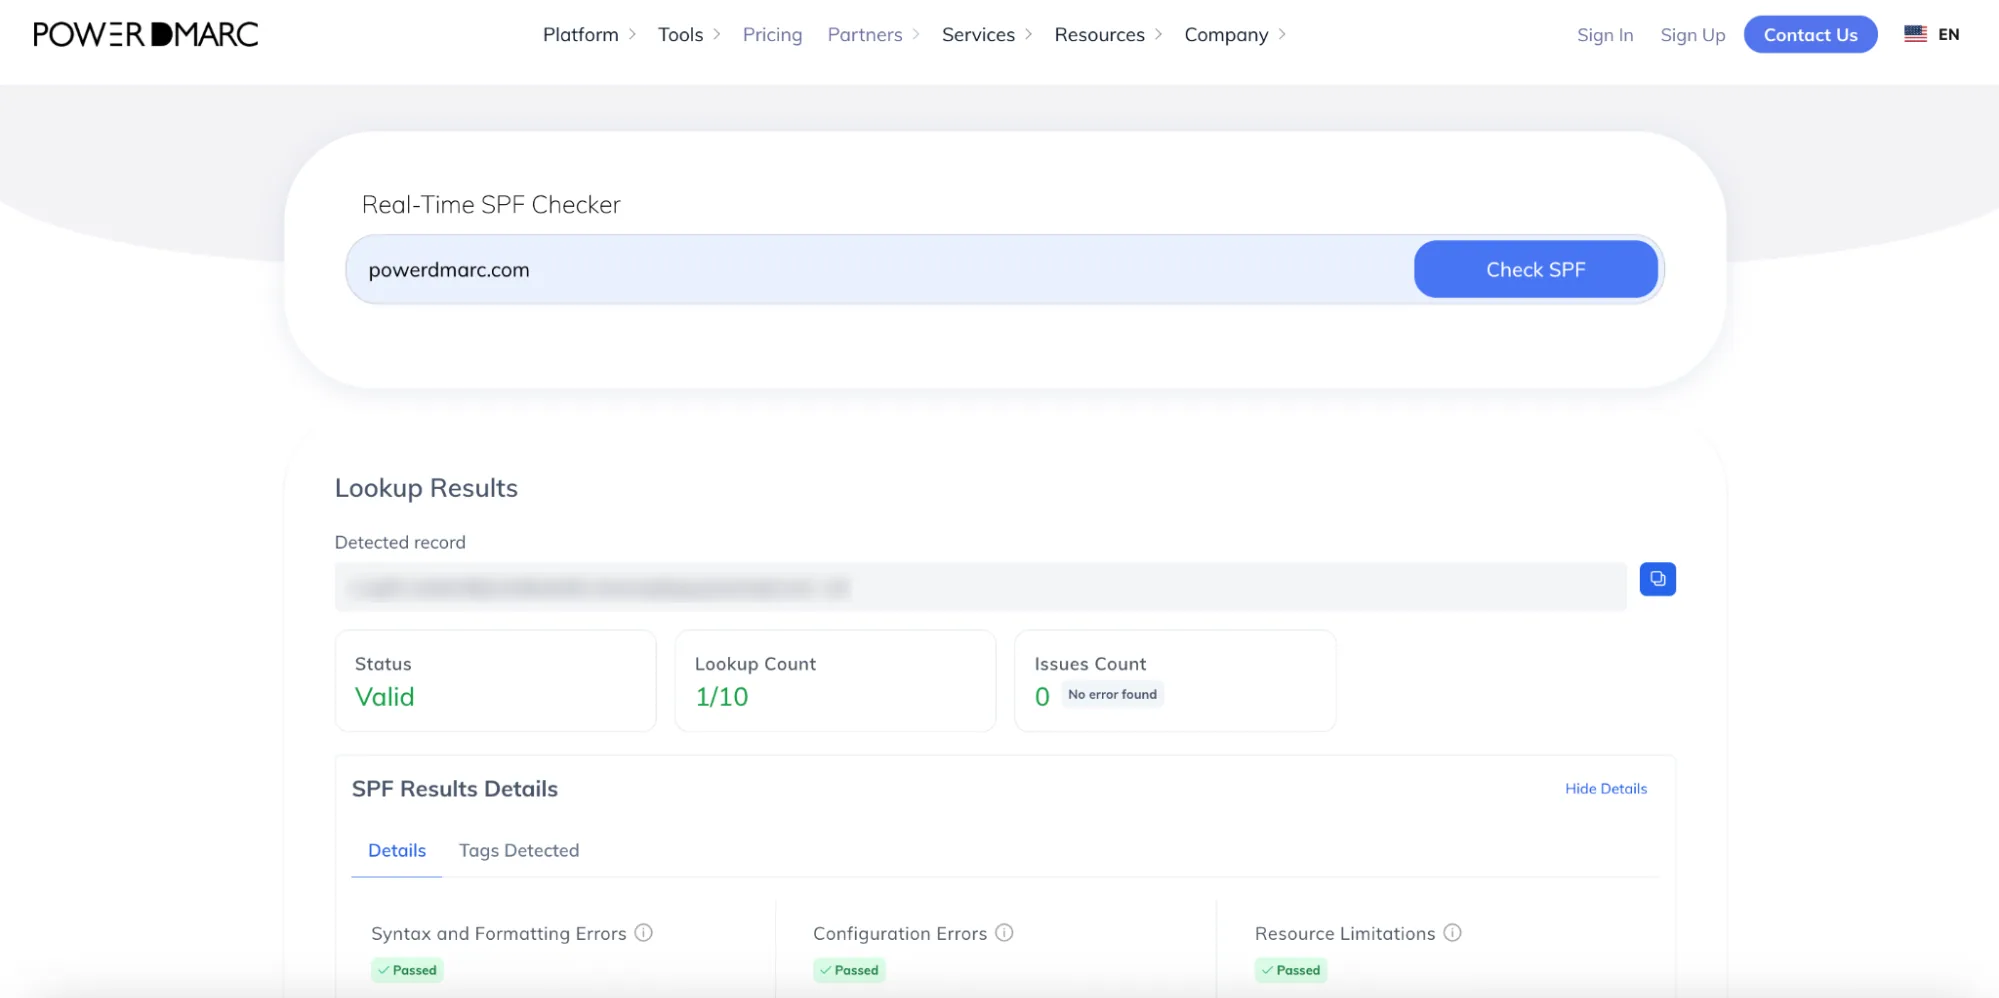
While SPF authorizes the server, DKIM provides a cryptographic signature that proves the email hasn’t been altered during transit. Under the hood, your outgoing messages are encrypted using your domain’s unique private key to generate a DKIM signature, which is inserted into your email header. The recipient’s mail server then fetches your public key via DNS to verify the signature’s validity and guarantee the integrity of your email content.
Log in to your DNS management console (such as Cloudflare, GoDaddy, or DNSPod) and create a new record:
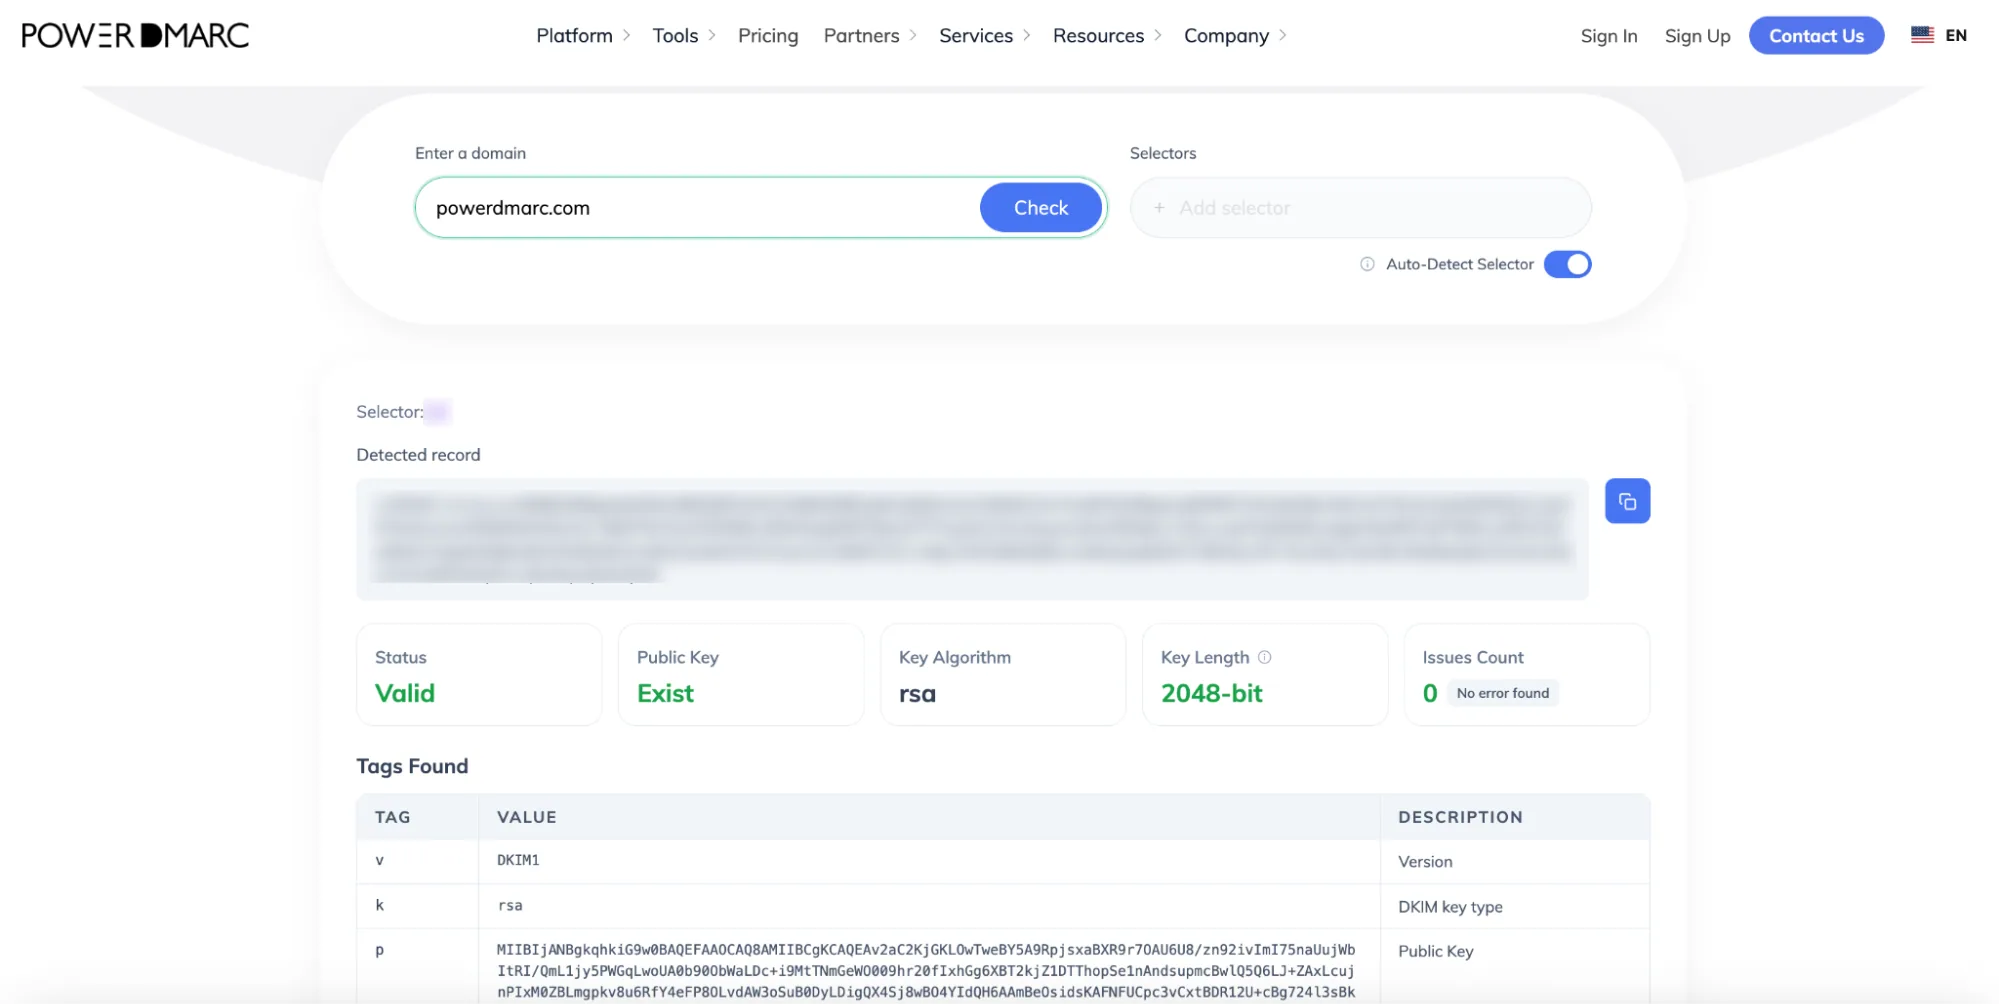
With SPF and DKIM in place, you are ready to configure DMARC. This protocol acts as the instruction manual for receiving servers on what to do if an email fails SPF or DKIM checks. Build a fully compliant record safely with PowerDMARC’s free DMARC Record Generator.

Here is a quick breakdown of the available policies:
Important: Do not jump straight to an enforcement policy (quarantine or reject). Doing so could block legitimate communications. A monitoring policy helps you fix underlying issues safely.
1. Enter a dedicated email address in the Reporting field so you can receive your aggregate (rua) reports.
2. Access your DNS settings and create a new record:
3. Save your new TXT record.
Verify Your Setup
To be absolutely certain your QQ Mail infrastructure is authenticated, validate your published records using PowerDMARC’s free DMARC Record Checker.
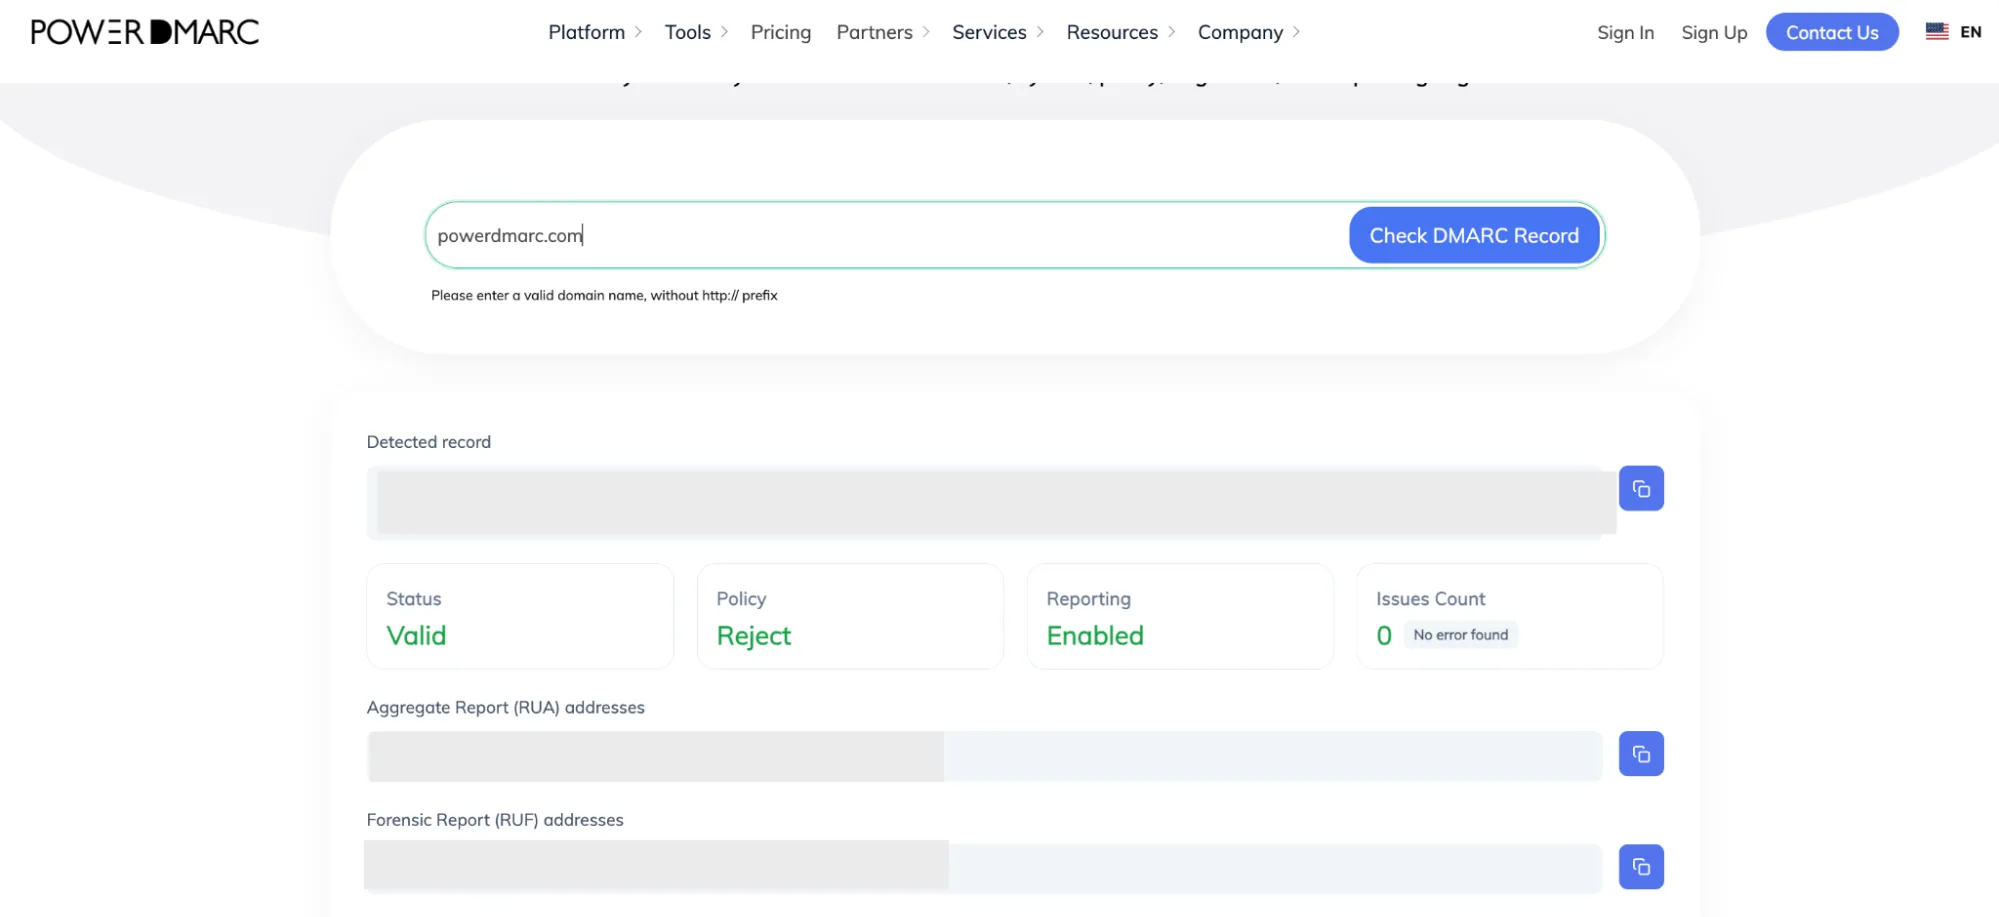
A successful check will display:
If your overall score is a bit low, it usually means you still need to implement advanced protections like BIMI or MTA-STS.
Ready to maximize your email security? The PowerDMARC team can help you confidently transition to DMARC enforcement, avoid SPF lookup limits with automatic flattening, and display your brand logo in customer inboxes with BIMI.
Reach out to our team or book a PowerDMARC demo today to secure your business communications!









 Simply.com Email Authentication Guide: SPF, DKIM, and DMARC