Namecheap SPF, DKIM and DMARC Setup Guide
by
Last Updated: 5 min read
by
Last Updated: Setting up SPF, DKIM, and DMARC on Namecheap is the foundation of protecting your domain from spoofing and ensuring your legitimate emails always reach inboxes. Misconfigured DNS records are one of the biggest causes of deliverability issues, phishing risks, and brand impersonation.
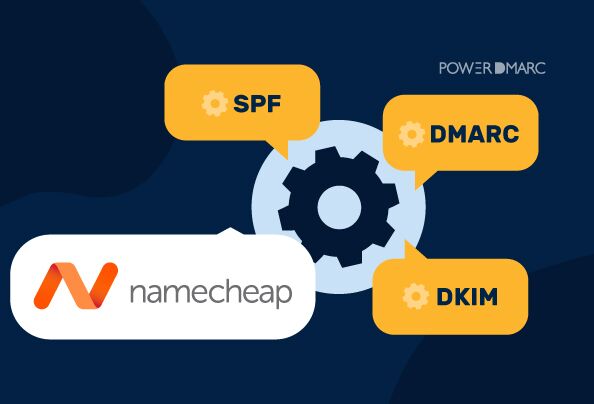
This guide walks you step-by-step through configuring SPF, DKIM, and DMARC for Namecheap specifically if you use their private email hosting solution, so you can secure your email domain, improve sender reputation, and eliminate authentication errors once and for all.
Note: Since Private Email will be used directly with Namecheap, your MX records should already be correctly pointed. If you’re using a third-party mail provider, you’ll need to update your MX records accordingly. Learn how here.
1. Go to namecheap.com and sign in to your account.

2. In the dashboard, open Private Email (or the Private Email management area).
1. Find the domain you want to enable DKIM for.
2. Click Manage (next to the domain) to open the Private Email settings for that domain.

1. In the Private Email settings, locate the DKIM section.
2. Click Generate (or Generate DKIM) to create a new DKIM key pair.

3. After generation you should see a message like “DKIM has been generated.”
1. Click Show DKIM (or similar) to view the DNS record fields that were generated.

2. Note both the Host / Selector (often something like default._domainkey or selector._domainkey) and the Value (a long string that starts with v=DKIM1; k=rsa; p=…).
Example DKIM TXT record format
1. Open Domain List in your Namecheap account.
2. Click Manage for the domain, then go to Advanced DNS.
Under Host Records, click Add New Record:
4. Save changes.
1. In Namecheap Private Email tab, copy the SPF TXT record (you should find this at the top of the page)

Note that if you already have an existing SPF record for this domain, simple include the “include:” mechanism for Namecheap to your existing record instead of creating a new one.
2. If you don’t have an existing record, Add a new record in your management console as shown below:

3. Save changes
Finally, it’s time to configure your Postmark DMARC record.
1. Use our DMARC generator tool to create a new DMARC record. You should start with a p=none policy if you are just starting out. This will ensure deliverability while you monitor your reports. However, remember to upgrade to p=quarantine/reject once you are confident with your setup.

2. In your DNS provider, create a new TXT record.
3. For the Host or Name of the record, enter _dmarc
4. For the Value, paste your DMARC record, policy, and reporting address

5. Save the TXT record.
For your peace of mind, after DNS propagation, use PowerDMARC’s SPF, DKIM, and DMARC checker tools for instant and accurate validation.
1. First, sign up with PowerDMARC.

2. On the sidebar on the left, navigate to Dashboard > Analysis Tools > PowerToolbox > Lookup Tools.

3. First, let’s check your DKIM record. Click on DKIM Record Lookup.

4. Enter your domain in the field and click Lookup DKIM.

5. Now, time to check the SPF record. Click on SPF Record Lookup.

6. Enter your domain and click on Lookup.

7. Now, let’s check your DMARC record. In the Lookup Tools, click on DMARC Record checker.

8. As a last step, enter your domain in the field and click Lookup.

Congratulations, you’re all set!
When you accurately configure SPF, DKIM, and DMARC for Namecheap, you can:
If you run into any difficulties during setup or need expert guidance, our team is here to help.
Contact us or schedule a demo with PowerDMARC to see how we can simplify your authentication process, strengthen your email security, and help you achieve flawless deliverability.

 Queued Email: What It Means and How to Fix It